When developing websites locally, I often use a simple Python web server to observe the changes.
However, this approach has its limitations. For example, this approach does not
enable logging or access controls. You also need to customize SimpleHTTPServer
if you have advanced needs from your web server.
So, I went to find an alternative that is almost as easy and far more extensible and found Docker Desktop to be a suitable replacement.
Docker Desktop
Installation
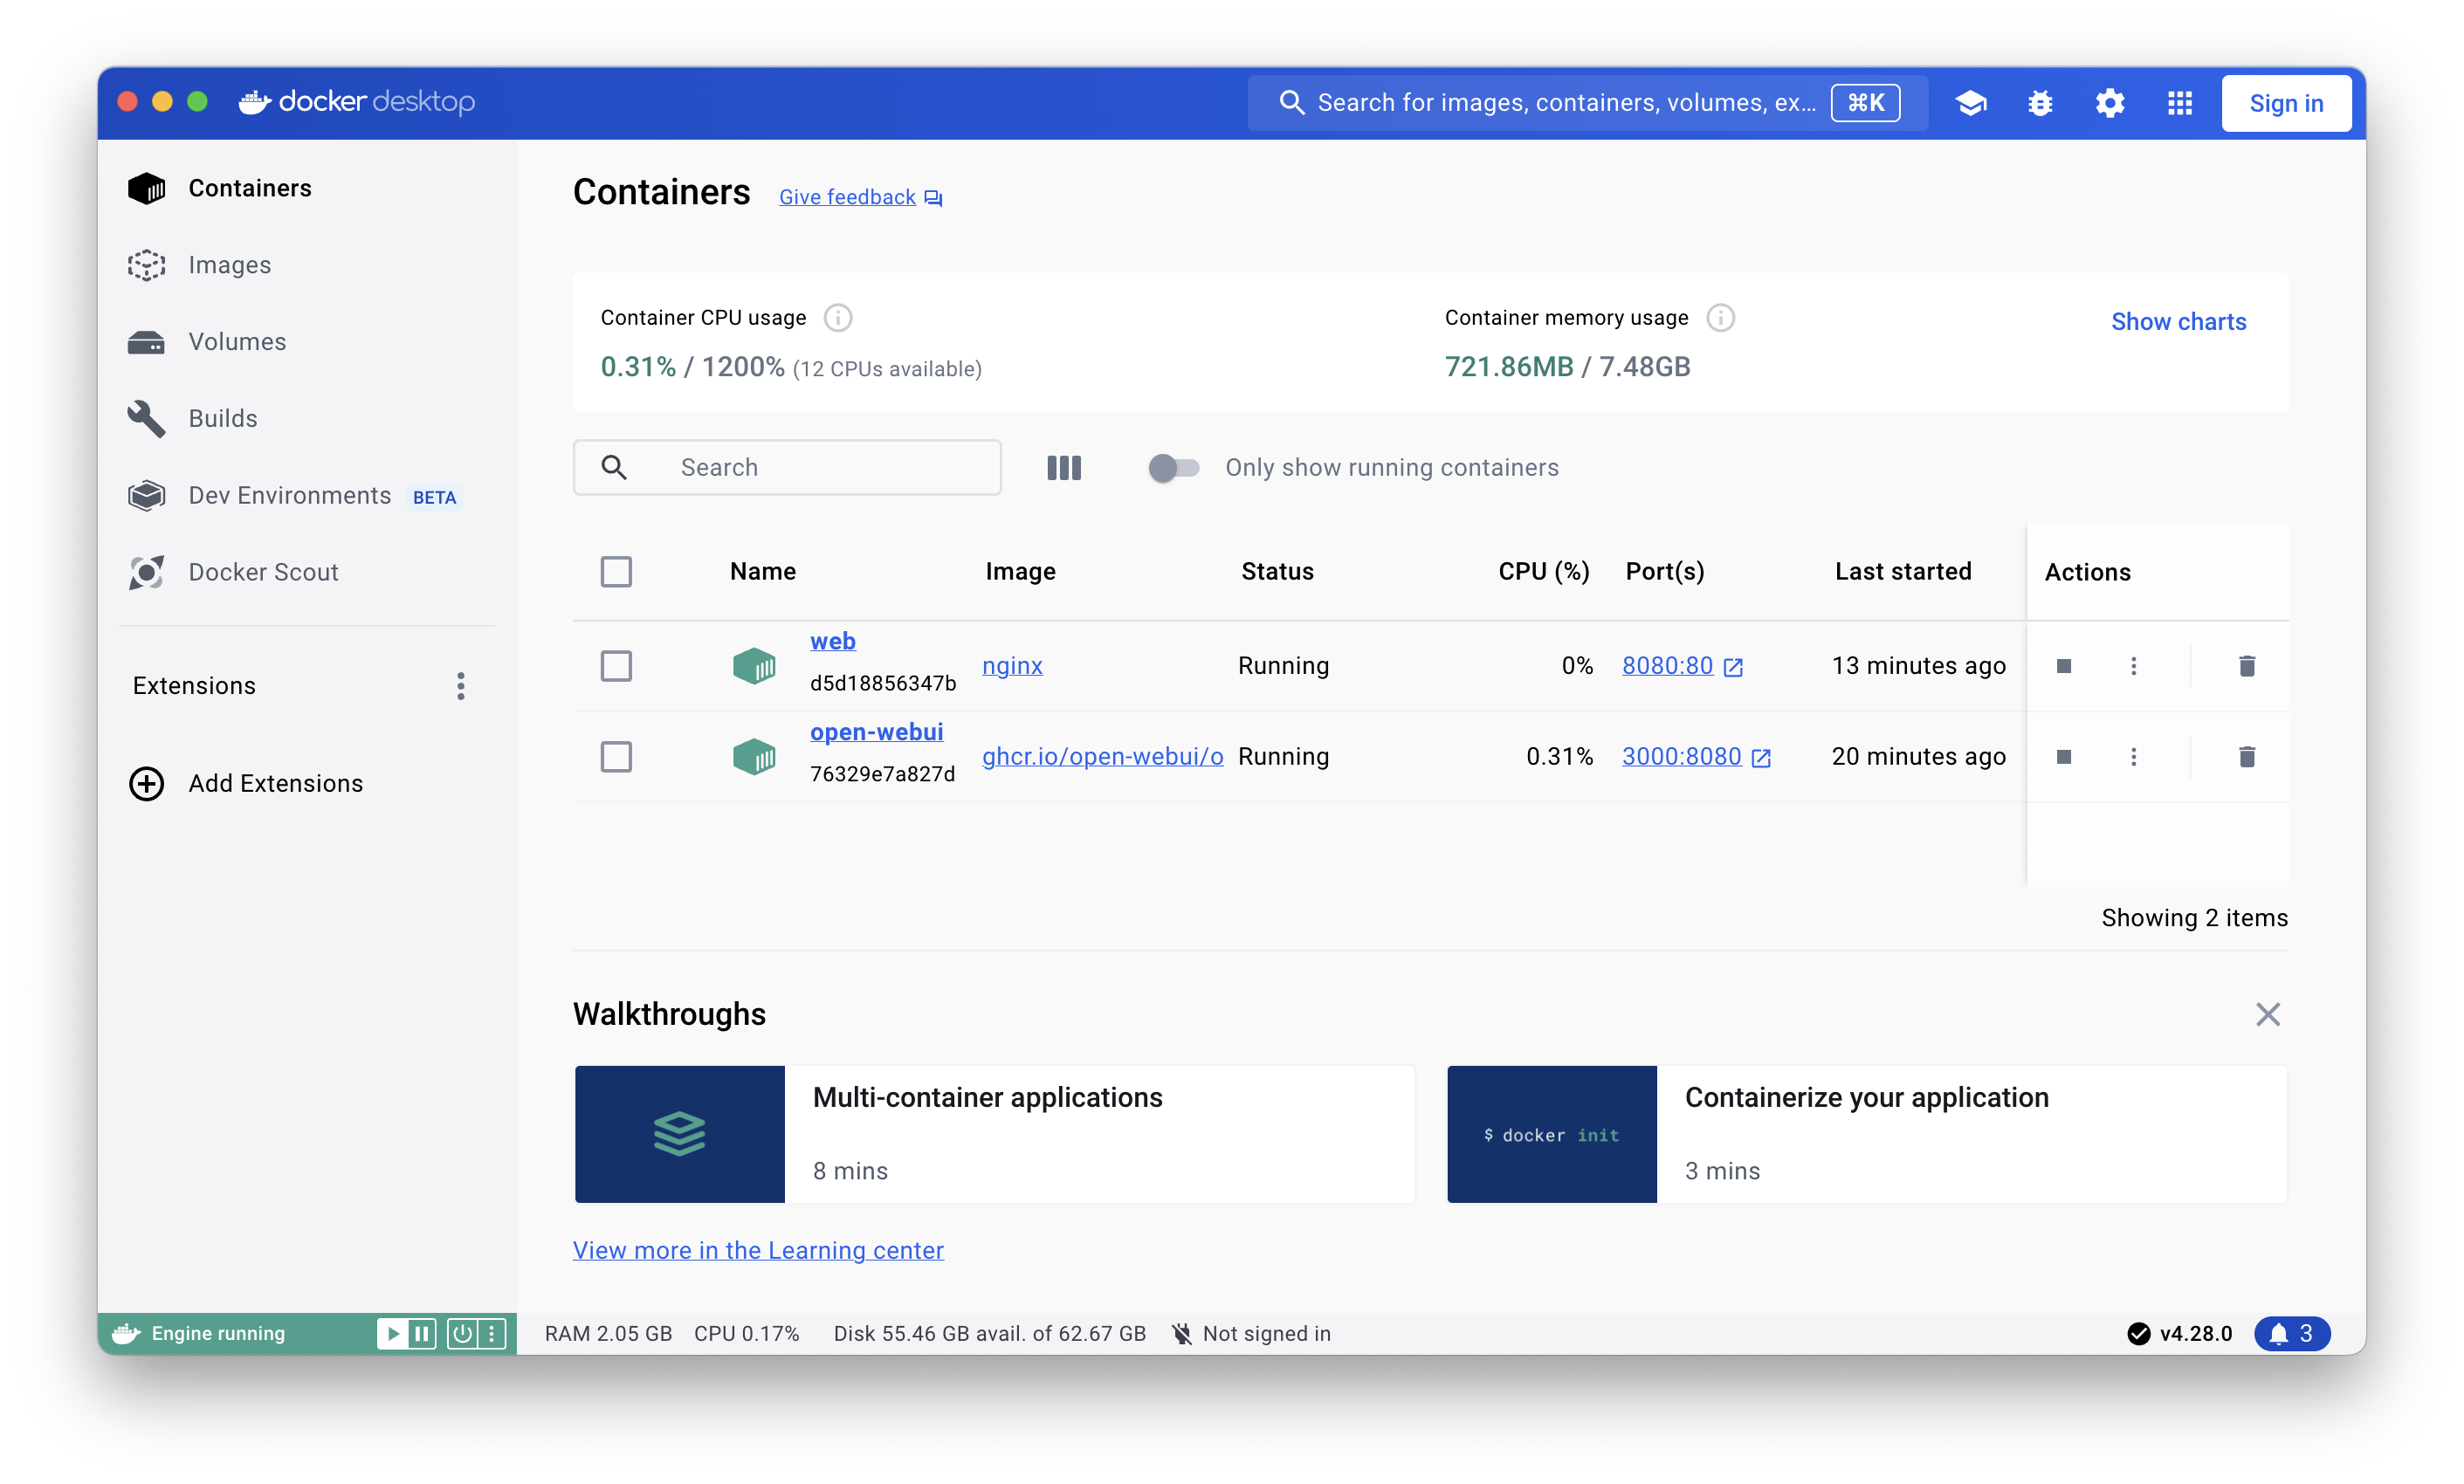
Docker Desktop is a desktop GUI for the phenomenal Docker container software. This allows you to manage containers, images, volumes, environments, and extensions via an easy-to-use GUI.
To install, open the link above and click the Download button for your
platform. I'm going through this process on an M2 Macbook, so I downloaded the
Mac - Apple Chip version.
Open the installer and follow the installation process until the application finishes the installation process.
Creating an Nginx Container
I prefer to use the command line to create containers, so the following commands will be input via the terminal.
The following command will create a container, using the nginx image:
-d: Run this container as a daemon (detach)-p: Allocate a port in the format<external>:<internal>-i: Keep STDIN open even if not attached-t: Allocate a pseudo-TTY-p: Allocate a port in the format<external>:<internal>--rm: Remove the container once it's done running
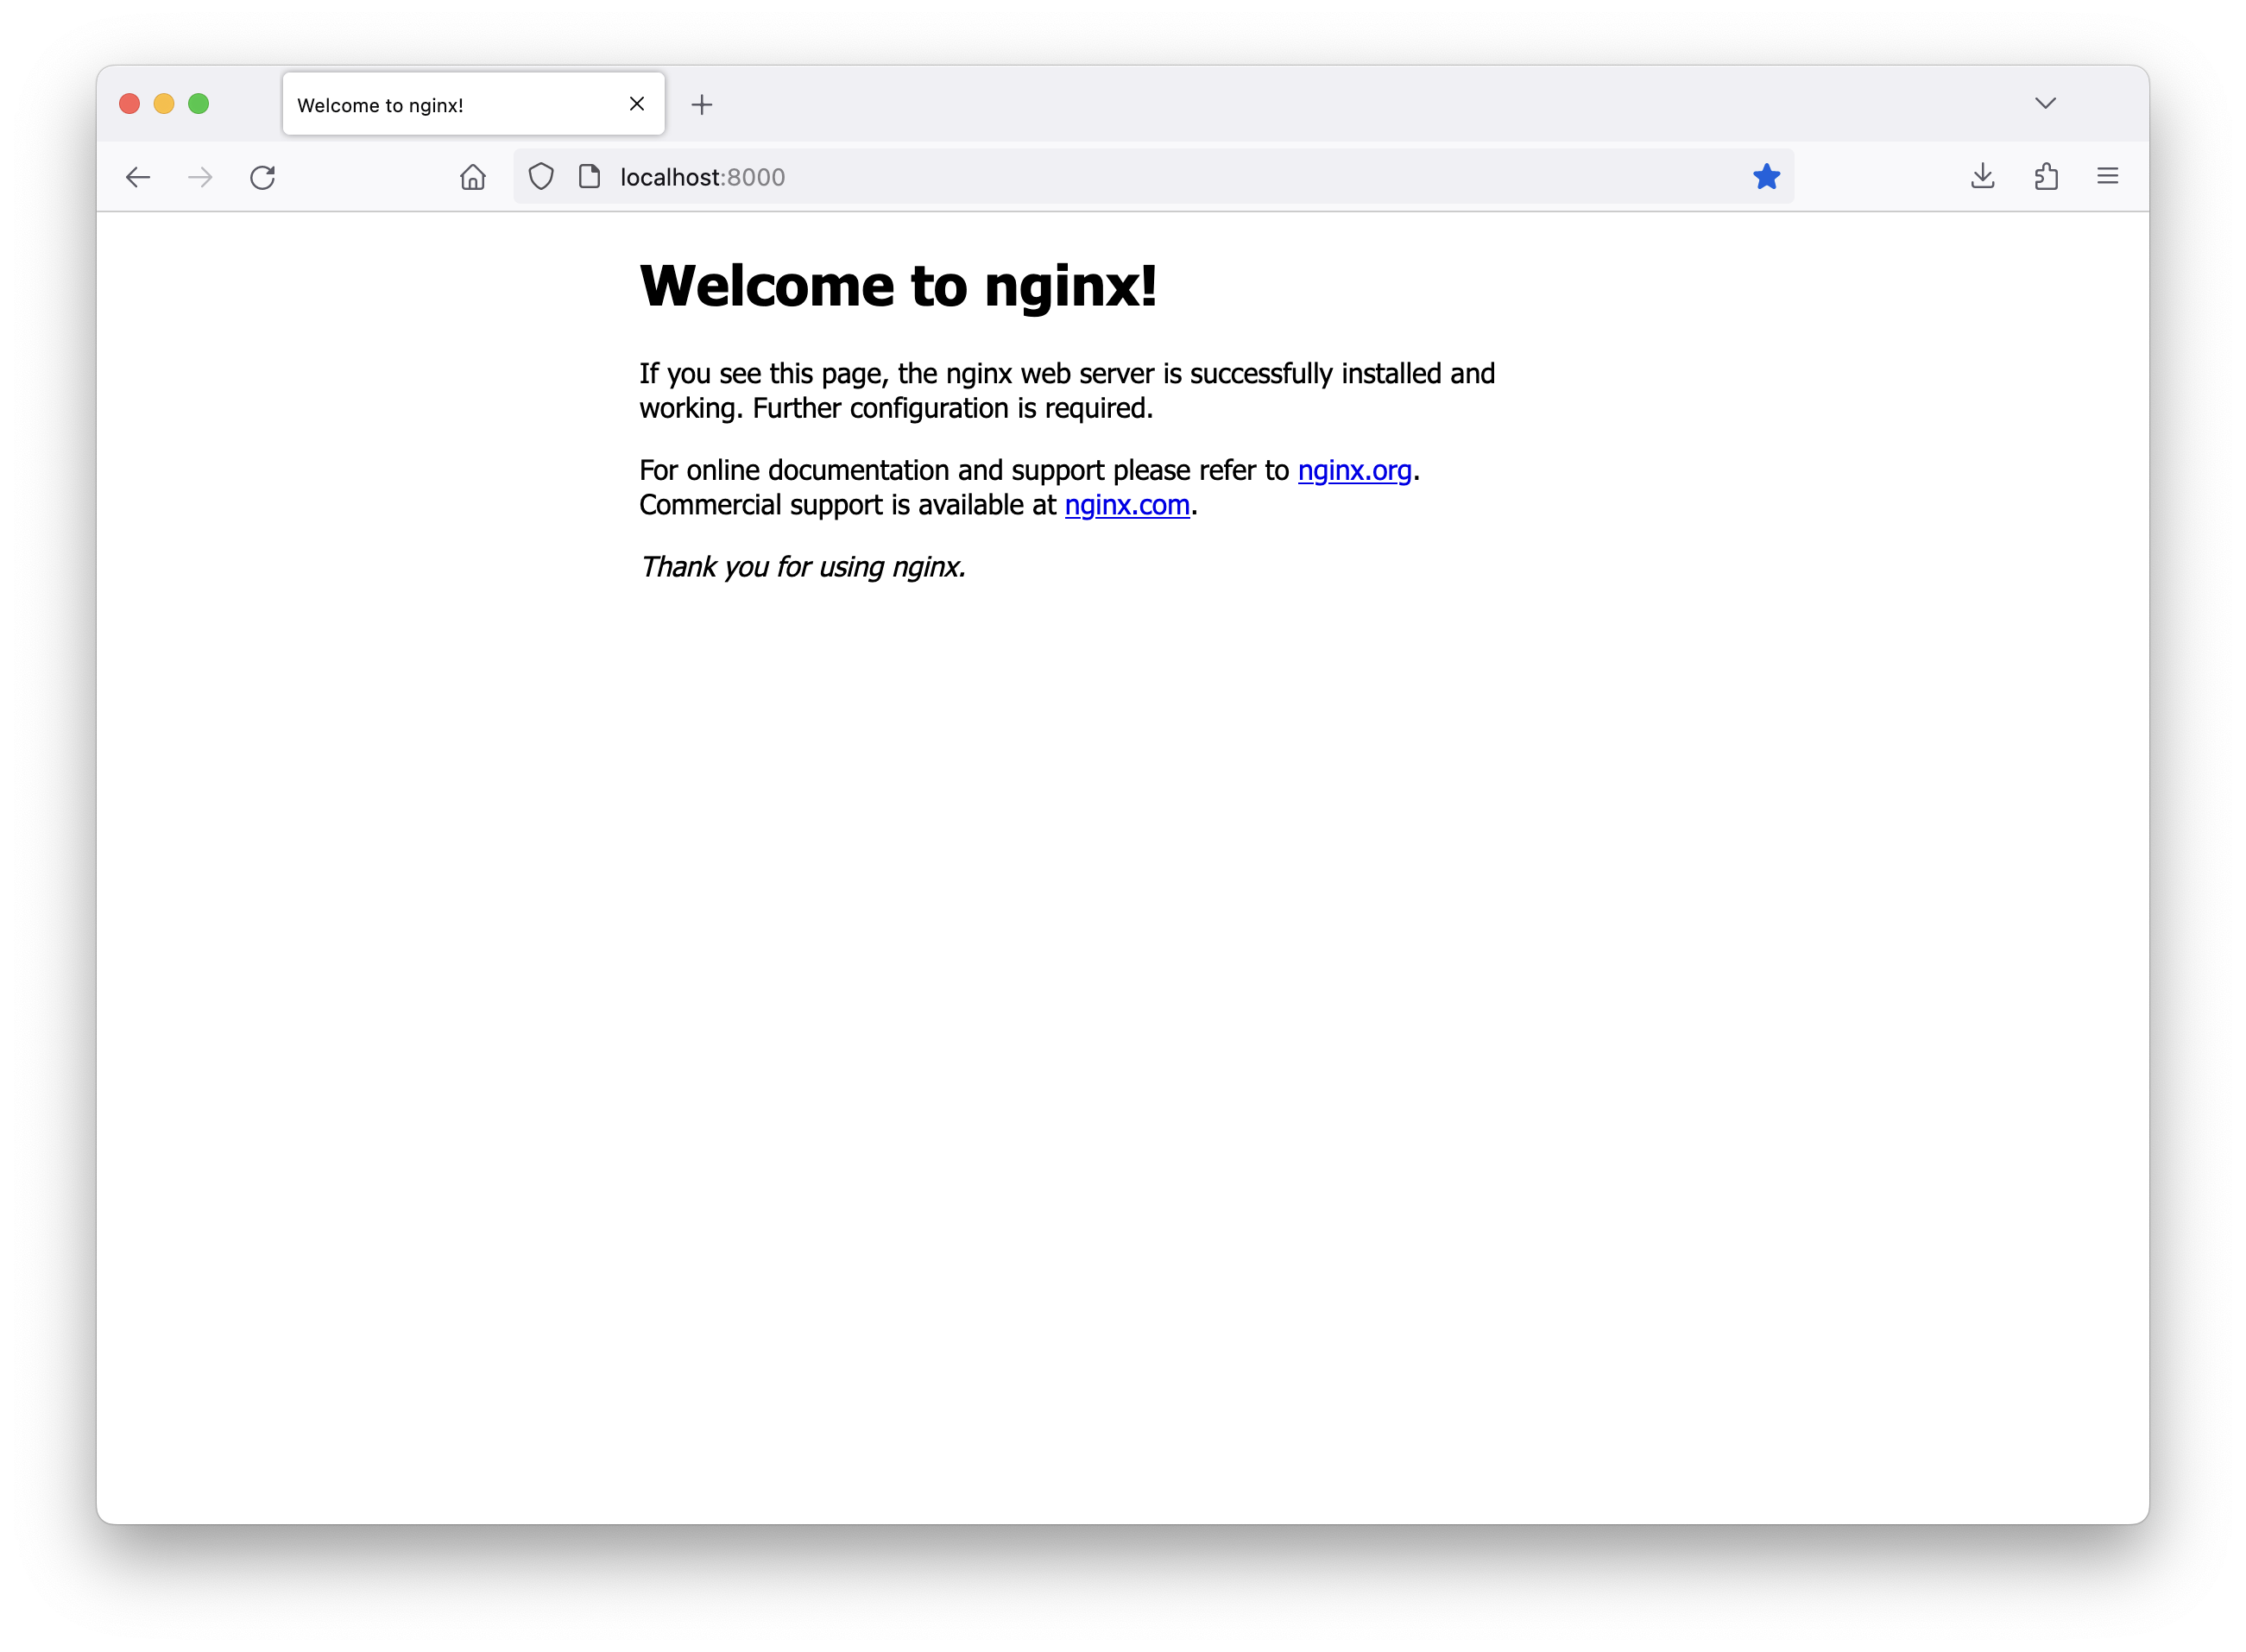
You can navigate to http://localhost:8000 to see the resulting page.
Customizing the Nginx Container
Now that I have a container running the Nginx web server, I need to link some volumes so that I can modify the site configuration and provide the web files to serve.
Let's start with the new command, which adds two volumes:
<your_content>:/usr/share/nginx/html: This is the directory where you will provide the web pages for the server to serve.<your_config>:/etc/nginx/conf.d/default.conf: This is the Nginx configuration file for your site.
To see the updates, you can delete the previous container in the GUI or run
docker stop web to stop the container. Once stopped, you can run the new
docker run command below.
Here's an example of my development configuration file.
server {
cleberg.net www.cleberg.net;
/usr/share/nginx/html;
index index.html;
on;
/var/log/nginx/cleberg.net.access.log;
/var/log/nginx/cleberg.net.error.log;
location / {
$uri $uri/ =404;
}
[::]:80;
80;
}
Customizing Deployment Actions
I am currently blogging with weblorg, which uses
a custom publish.el file to build the static site. Within this file, I have
configured my deployment process to check for the ENV variable in thesh and if
it's set to prod, the script will set the base URLs to https://cleberg.net.
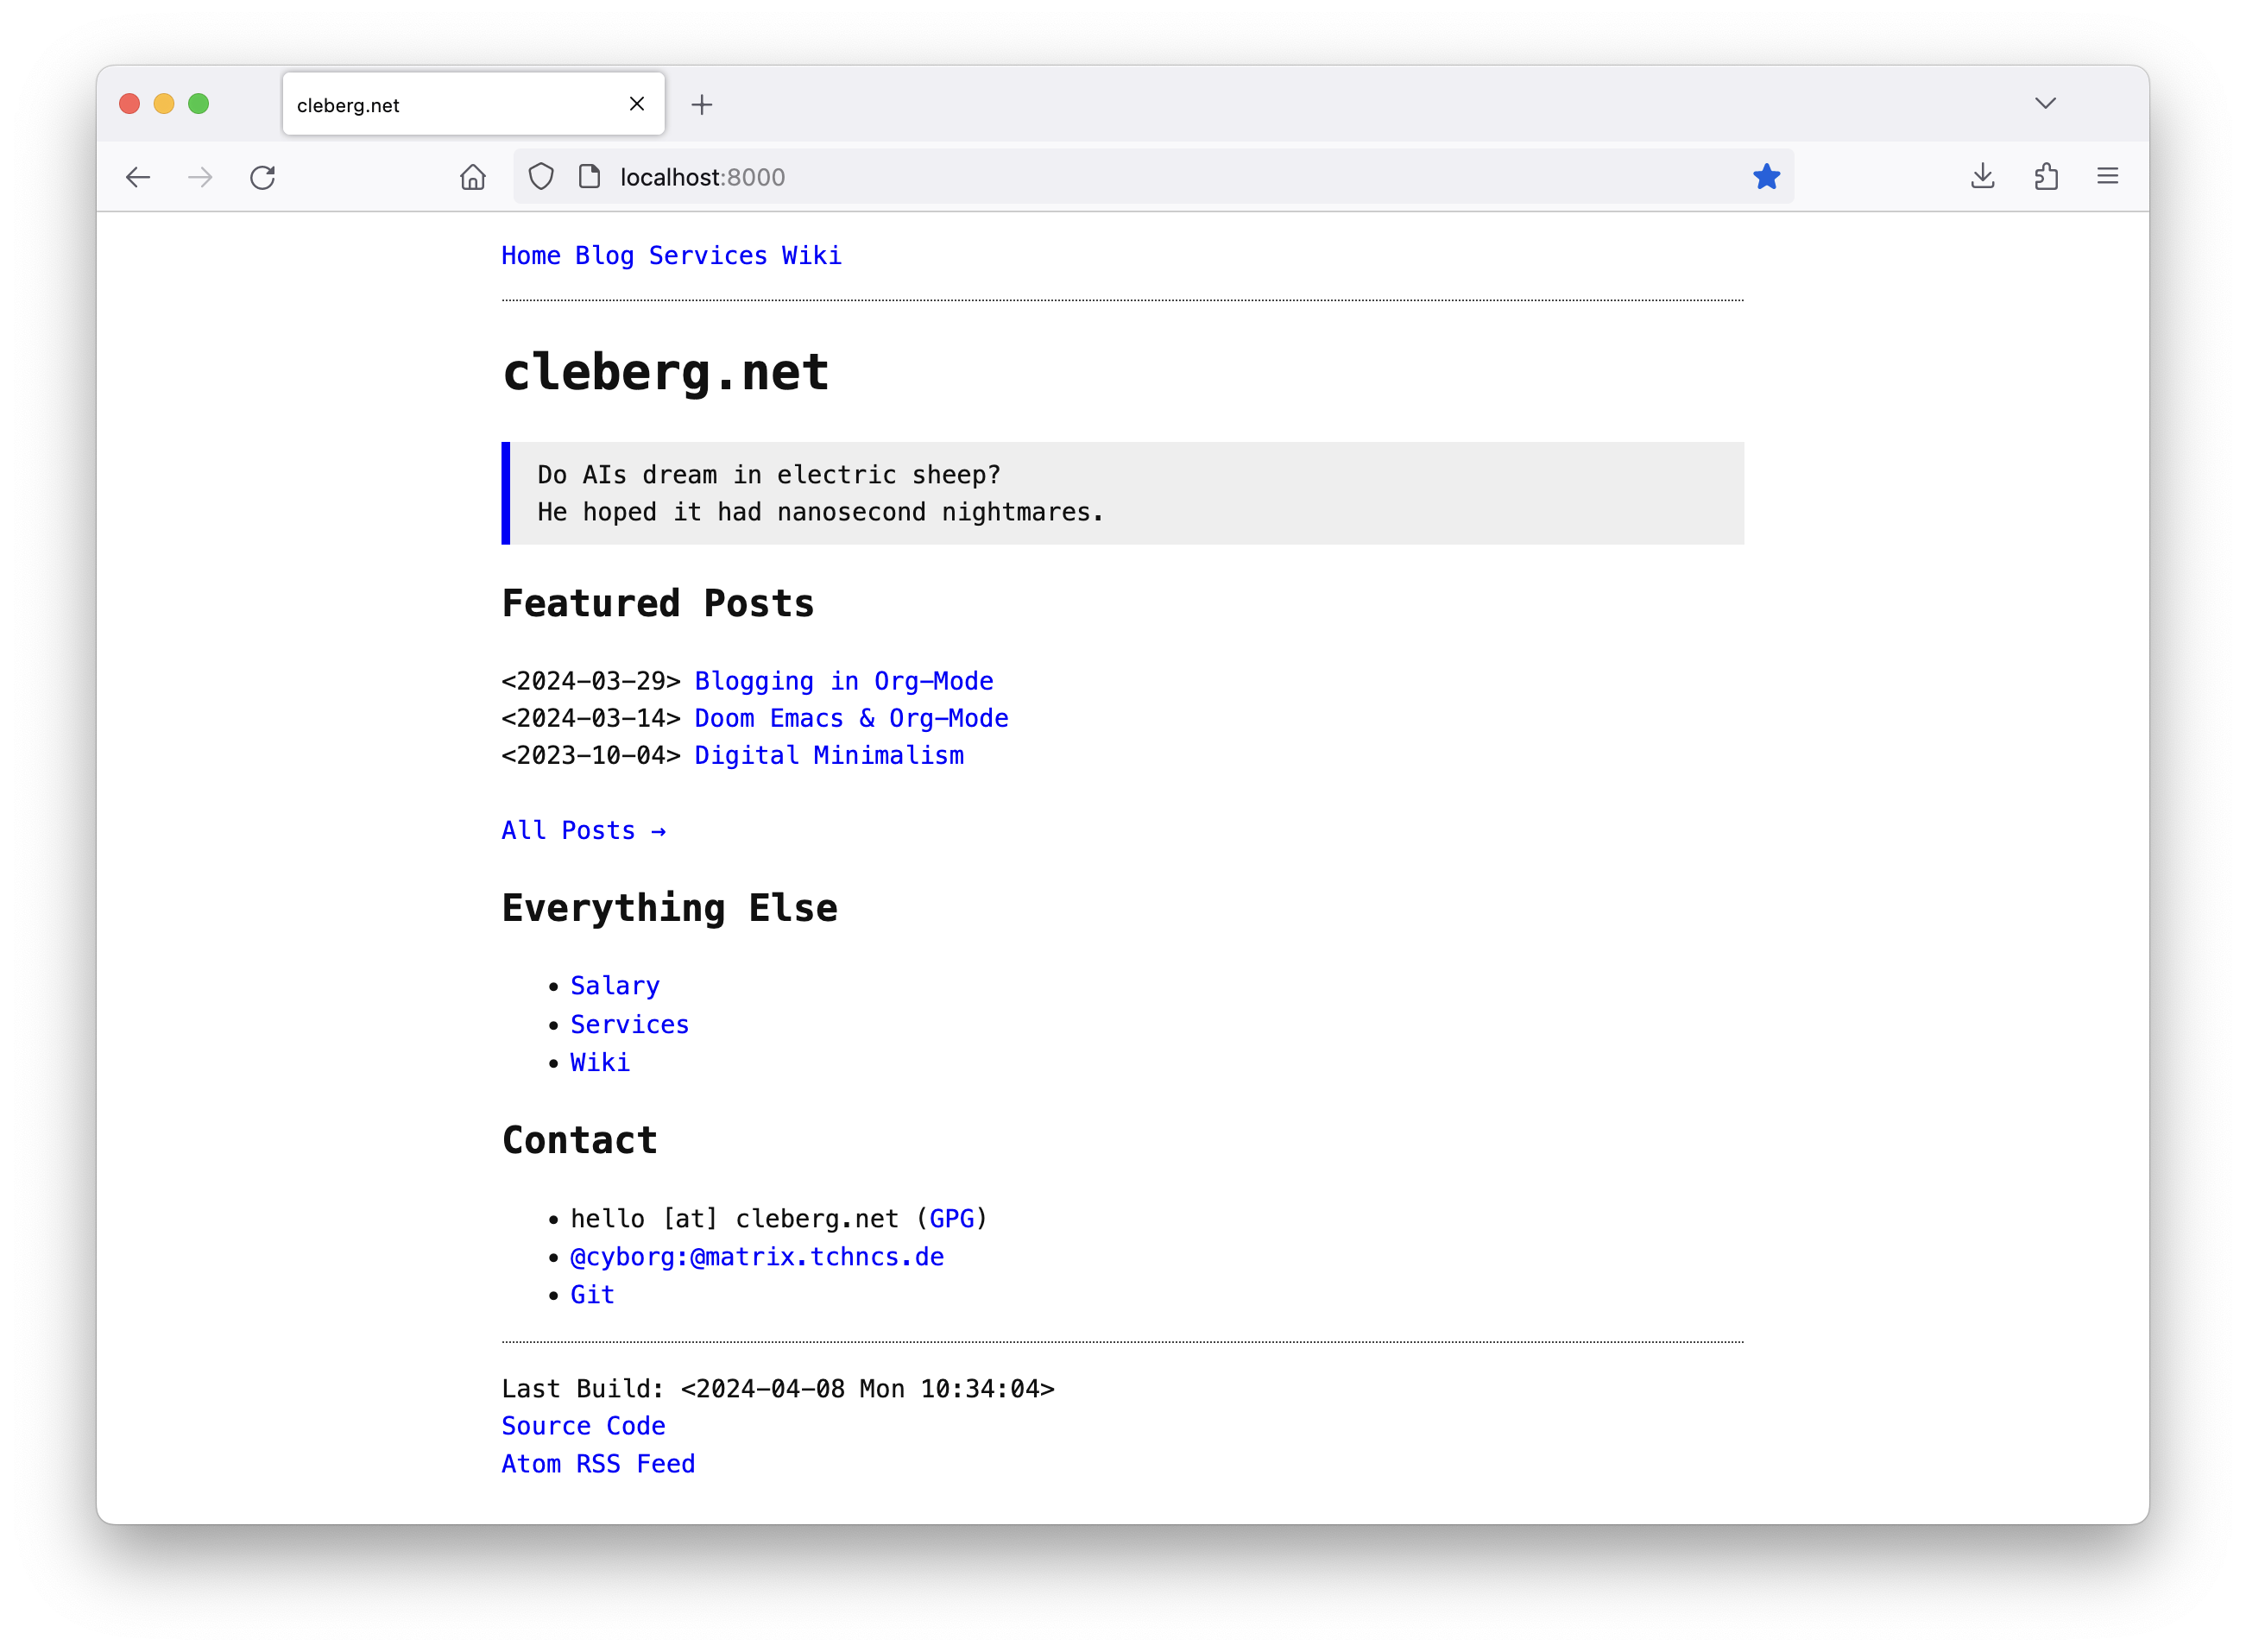
If not, it sets the base URLs to localhost:8000 (which matches the port used
in the container above).
Therefore, I have modified my build.sh script to build with localhost URLs
if ENV is not set to prod. It also prevents the build process from sending
the built files to the production web server.
#!/bin/bash
if [; then
&& \
&& \
&& \
else
&& \
&& \
fi
You can modify the container in numerous ways and this approach allows you to create complex scenarios for your web development purposes. I highly recommend switching over to a container-based approach for simple, local web development.