I have been using macOS more than Linux lately, so I wrote this post to describe some simple options to customize macOS beyond the normal built-in settings menu.
While not all-encompassing, the options below should be a good start for anyone looking to dive down the rabbit hole.
Basics
Package Management
To install a lot of software on macOS, you will need
Homebrew. You can use their installation script to get
started. Simply open the Terminal application and paste the following snippet:
This will allow you to easily install and manage applications and other software
easily through the brew command.
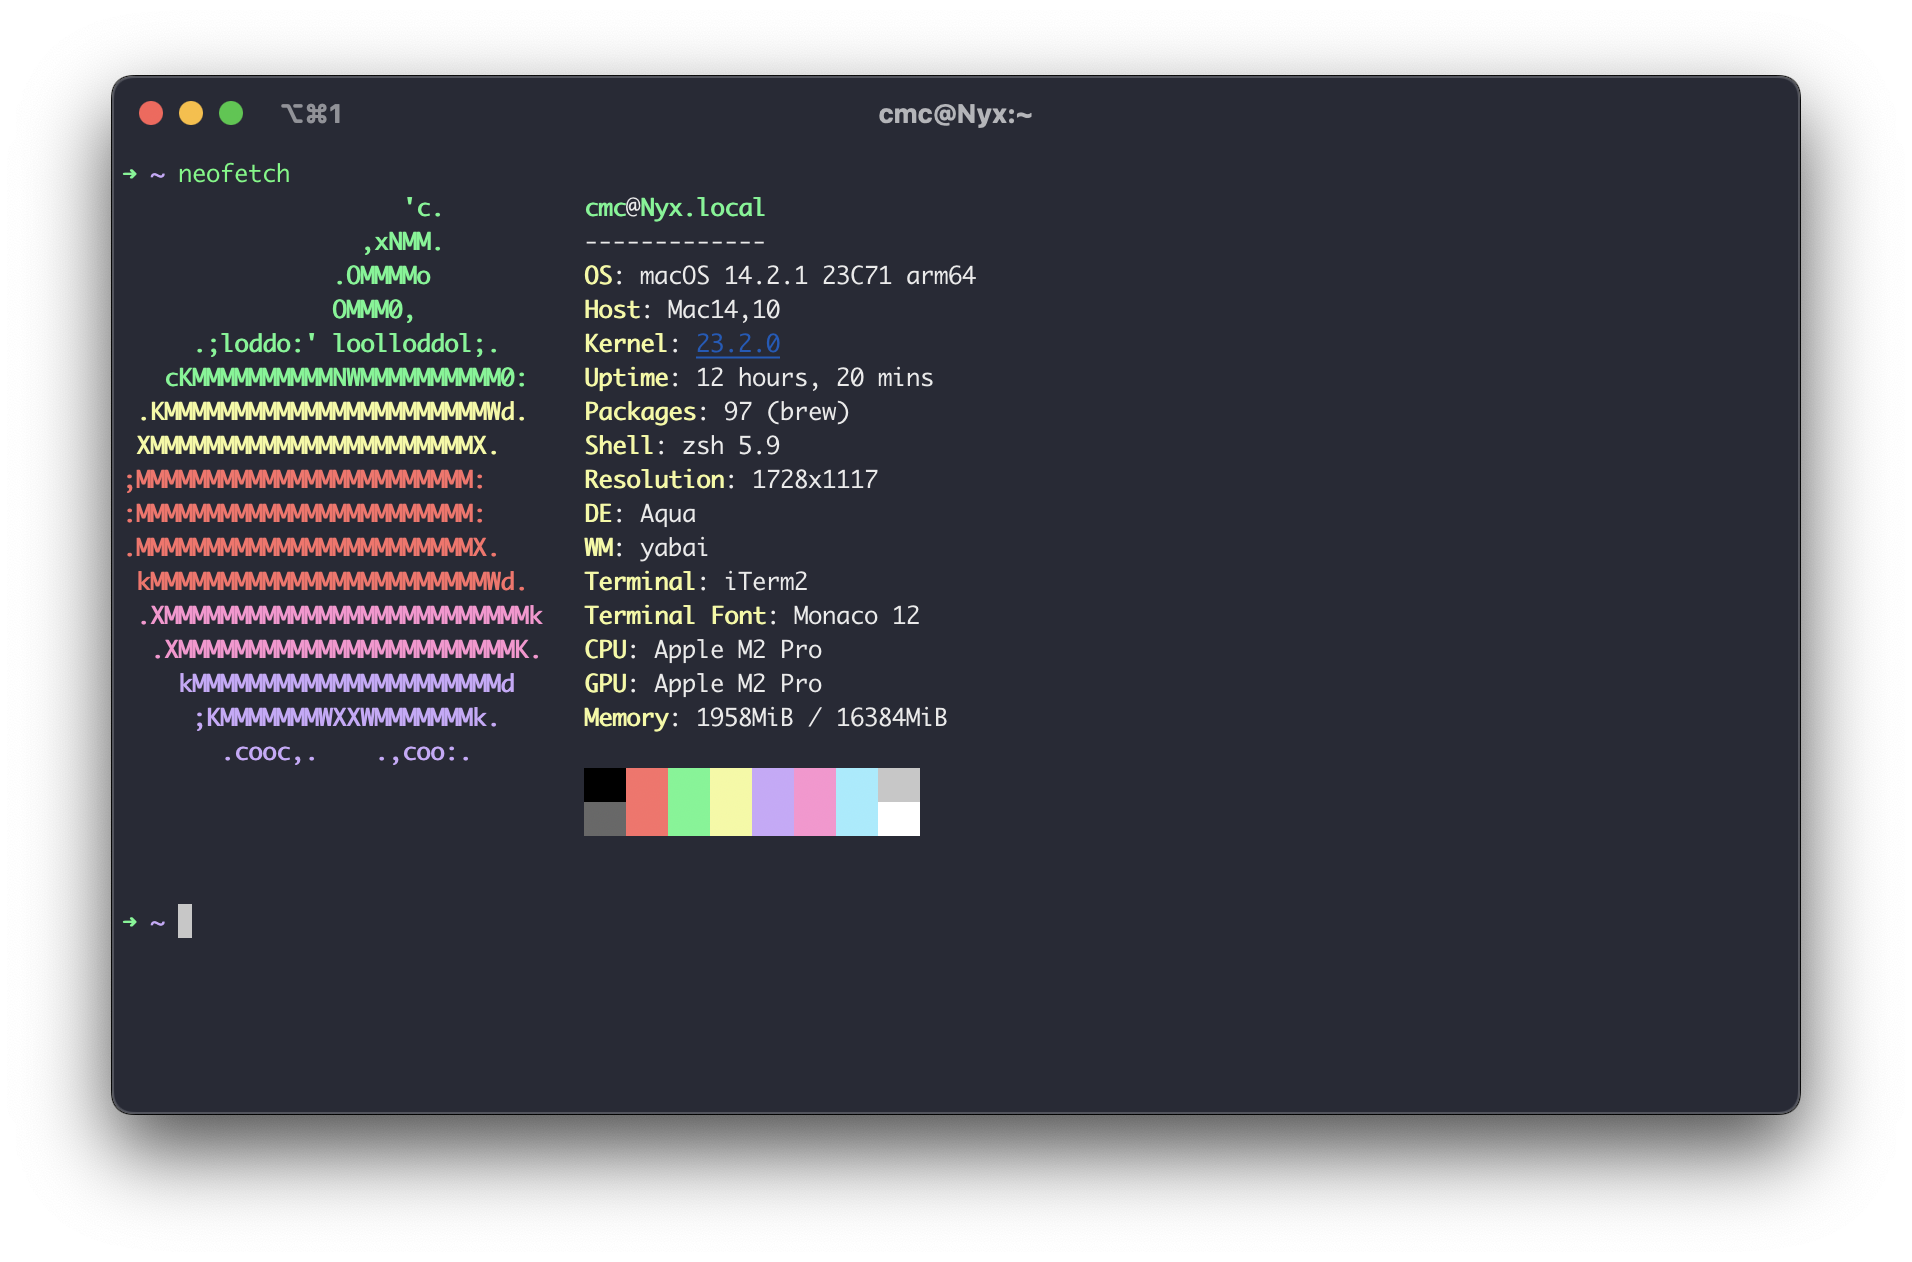
Terminal
If you're serious about customizing your macOS system, I highly recommend installing a terminal emulator that you like and if you're not comfortable on the command line yet, start learning. A lot of customization options require you to edit hidden files, which is easiest in a terminal.
There are options like iTerm2, Kitty, Alacritty, Hyper, Warp, or the built-in Terminal app.
I use iTerm2, which can be installed with Homebrew:
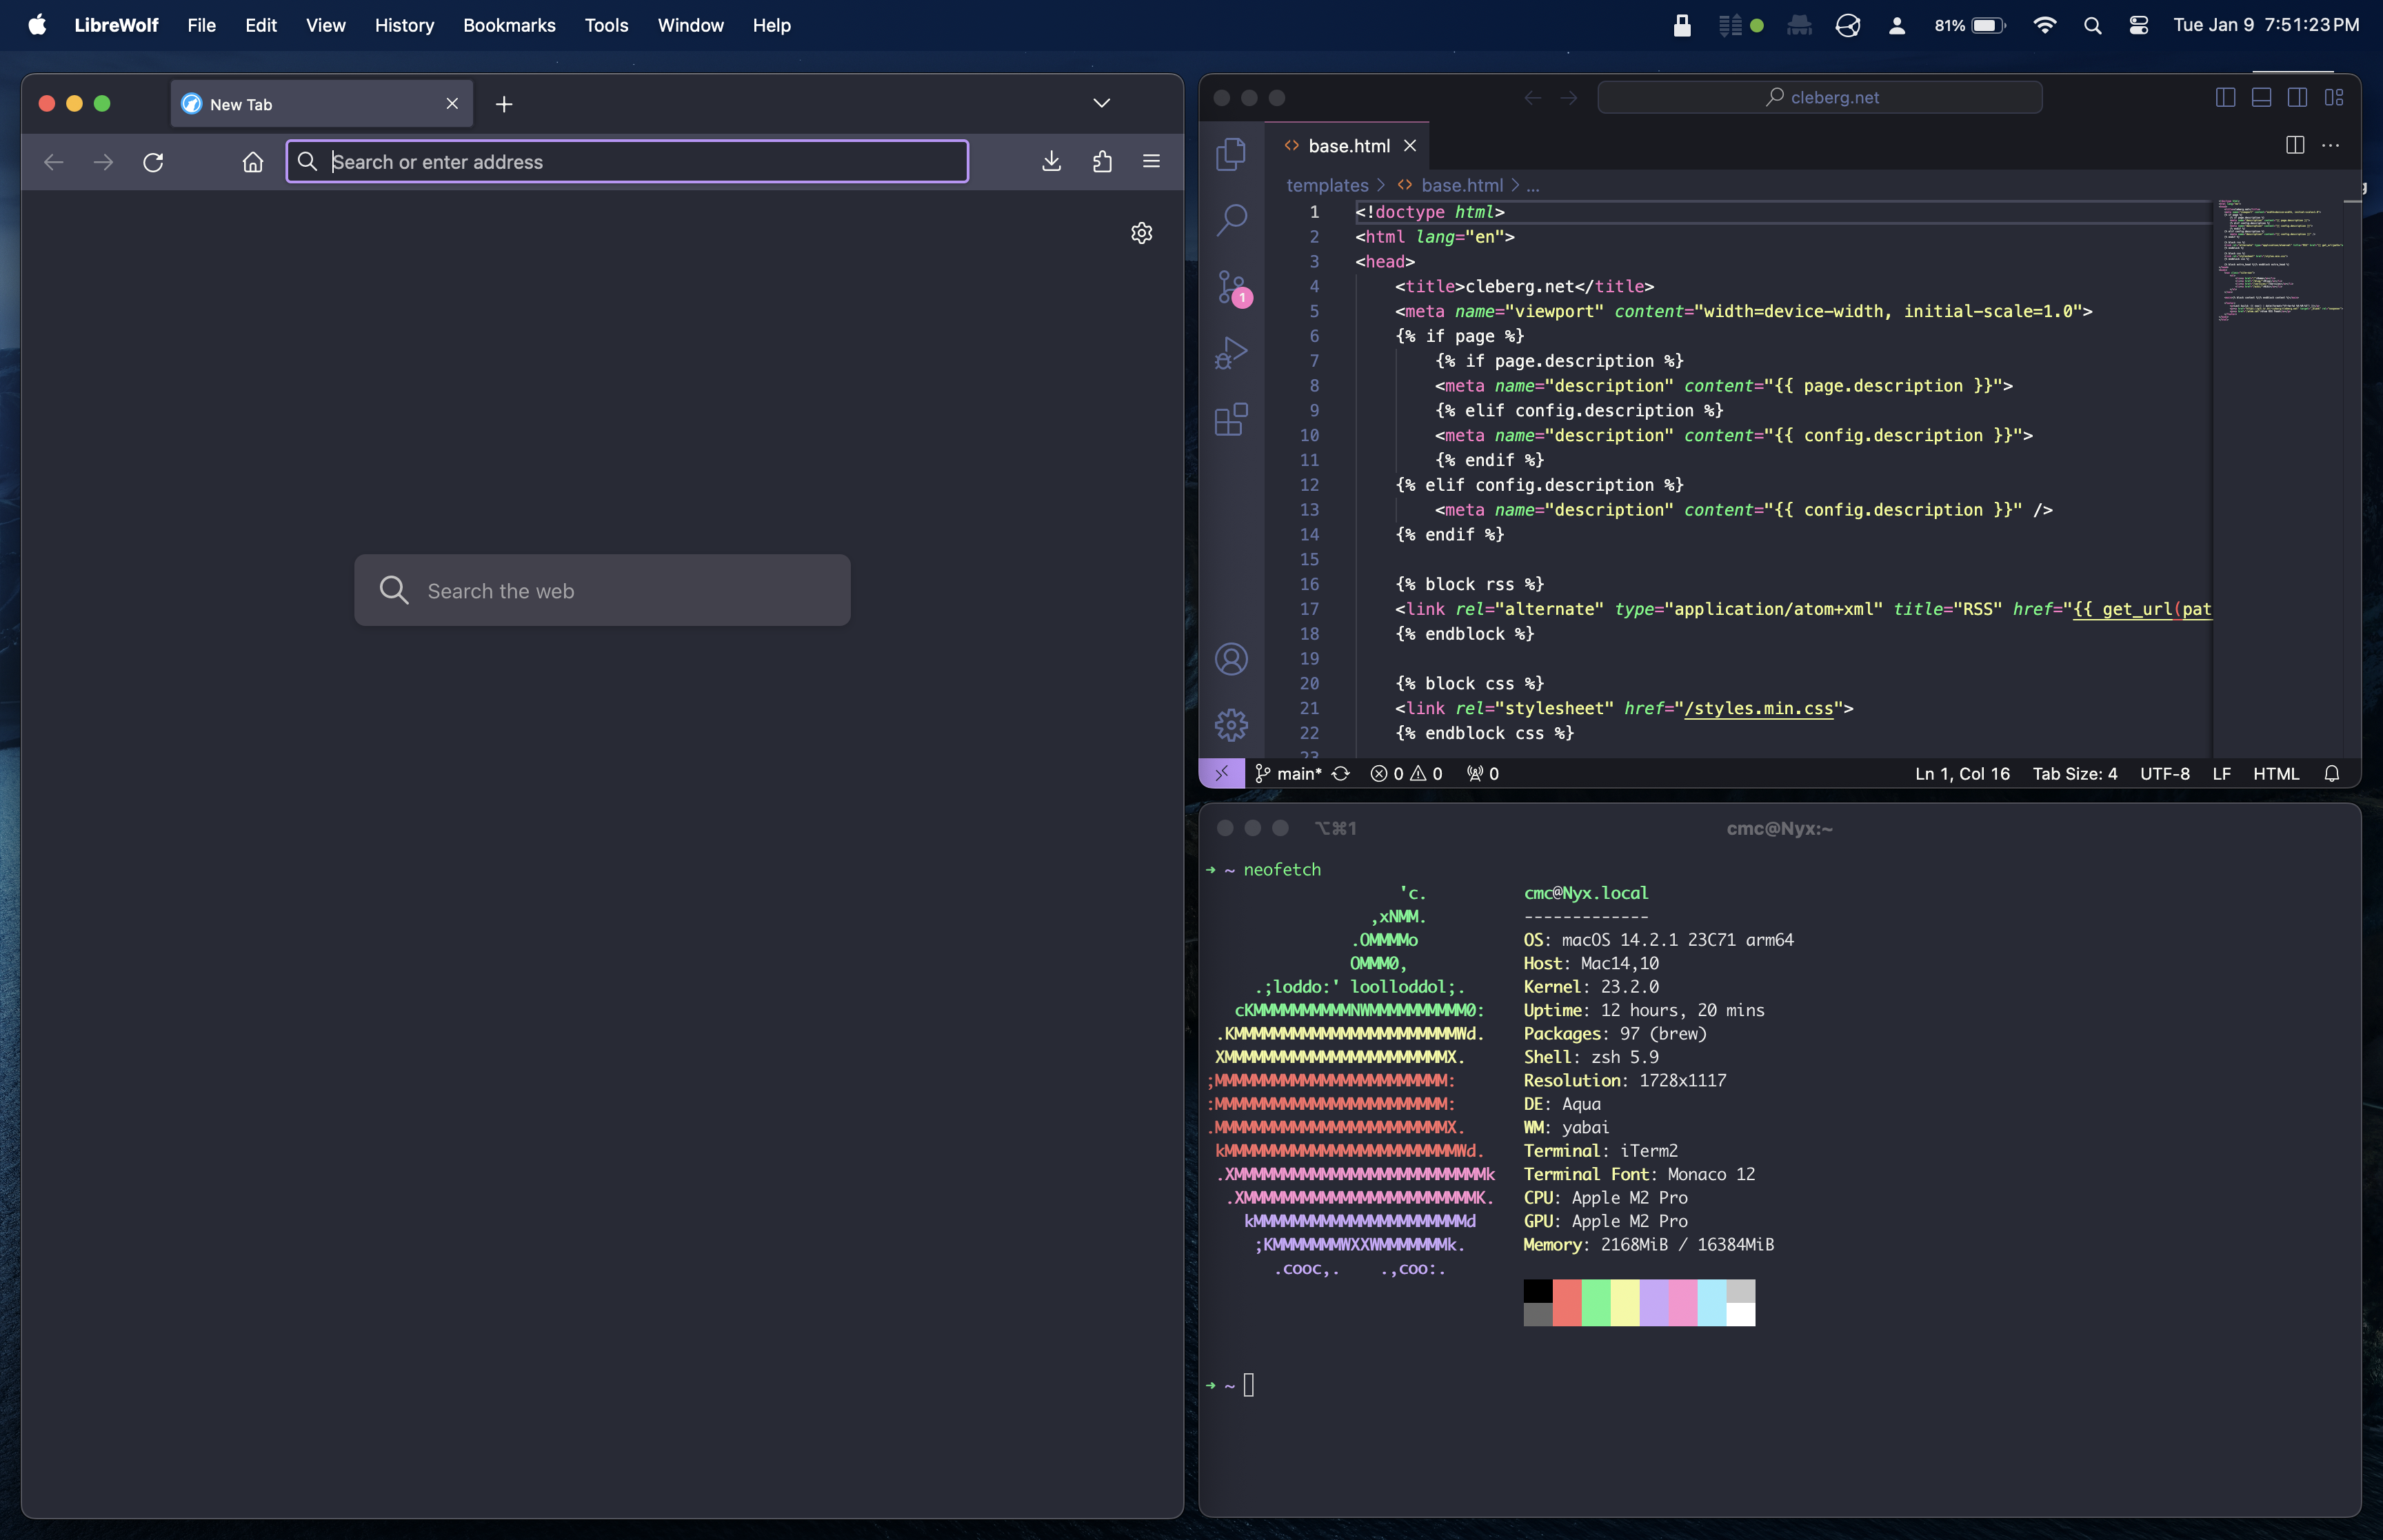
To install color schemes, such as the Dracula scheme shown in the screenshot above, you visit iTerm Themes and follow their installation instructions to install any of the themes.
Desktop
Window Management
yabai is a tiling window manager for macOS. While other window managers exist, I found that most of them struggled to create logical layouts and to allow me to easily move windows around the screen.
Some advanced settings for yabai are only available if partially disable System Integrity Protection (SIP). However, I chose not to do this and it hasn't affected my basic usage of yabai at all.
Refer to the yabai wiki for installation instructions. You will need to ensure that yabai is allowed to access the accessibility and screen recording APIs.
You can see a basic three-pane layout atuomatically configured by yabai for me as I opened the windows below.
Keyboard Shortcuts
skhd is a simple hotkey daemon that allows you to define hotkeys in a file for usage on your system.
Installation is simple:
After installation, be sure to allow skhd access to the accessibility API in
the macOS privacy settings.
You can configure your hotkeys in the ~/.config/skhd/skhdrc file:
For example, I have hotkeys to open my browser and terminal:
- return : /Applications/iTerm.app/Contents/MacOS/iTerm2
+ shift - return : /Applications/LibreWolf.app/Contents/MacOS/librewolf
Widgets
uebersicht is a handy desktop-based widget tool with a plethora of community-made widgets available in the widgets gallery. You can also write your own widgets with this tool.
To install, simply download the latest release from the uebersicht website and copy it to the Applications folder.
See below for an example of the Mond widget in action.
Status Bar
SketchyBar is a customizable replacement for the macOS status or menu bar.
You can browse a discussion where various users shared their configurations for inspiration or to copy their dotfiles.
See below for a quick (& slightly broken) copy of zer0yu's SketchyBar configuration.

Dock
The easiest way to customize the dock is to install uBar, which uses a Windows-like menu bar as the default style.
However, the built-in macOS dock cannot be disabled and can only be set to "always hidden". This can be annoying as it will pop out any time your mouse cursor passes closely to the dock edge of the screen. Because of this, I simply use the built-in dock instead of customizing it with third-party software.
Regardless, see below for the default installation style of uBar.

Application Icons
You can also customize the icon of any application in macOS, which will show up in Finder, the Dock, Launchpad, search results, etc. I recommend using macOSicons to download icons you want, and then apply them by following this process.
- Open the Finder application.
- Navigate to the
Applicationsfolder. - Right-click an application of your choice, and select
Get Info. - Drag the image you downloaded on top of the application's icon at the top of information window (you will see a green "plus" symbol when you're hovering over it).
- Release the new icon on top of the old icon and it will update!
You can see an example of me dragging a new signal.icns file onto my
Signal.app information window to update it below:
![]()