Convos
Convos is an always-online web client for IRC. It has a few features that made it attractive to me as a self-hosted option:
- Extremely simple Docker Compose installation method.
- Runs in the background and monitors chats even while you're not logged in.
- Neatly organized sidebar for conversation and client settings.
- Ability to connect to different hosts and create profiles for hosts.
- By default, registration is closed to the public. You can enable public registration on the Settings page or generate invitation links on the Users page.
- Customization of the client theme, organization name and URL, admin email, and video service.
Docker Installation
To install Convos, simply create a directory and a docker-compose.yml file:
&&
With the docker-compose.yml file open, paste the configuration below into the
file. You can customize the host port to be something unique, such as
21897:3000. You can also change the data folder to be a docker volume
instead, if you prefer.
'3'
'convos/convos:stable'
- '3000:3000'
- './data:/data'
- CONVOS_REVERSE_PROXY=1
restart: always
Save the docker-compose.yml file and bring the container up:
At this point, Convos is available at <server_ip>:3000 but not available to
the public.
Nginx Reverse Proxy
If you're using Nginx, you can create a configuration file for the convos application. Start by opening the file:
Within the nginx configuration file, paste the following content and be sure to
update convos.example.com to match your domain and 127.0.0.1:3000 to match
the port you opened in the docker-compose.yml file.
convos_upstream { server ; }
server {
if ($host ~ ^[^.]+\.example\.com$) {
301 ;
}
[::]:80;
80;
convos.example.com;
404;
}
server {
[::]:443 ssl http2;
443 ssl http2;
convos.example.com;
/var/log/nginx/convos.access.log;
/var/log/nginx/convos.error.log;
location / {
;
1.1;
Upgrade $http_upgrade;
Connection "upgrade";
0;
Host $host;
X-Forwarded-For $proxy_add_x_forwarded_for;
X-Request-Base "$scheme://$host/";
}
/etc/letsencrypt/live/example.com/fullchain.pem;
/etc/letsencrypt/live/example.com/privkey.pem;
include /etc/letsencrypt/options-ssl-nginx.conf;
/etc/letsencrypt/ssl-dhparams.pem;
}
Once the file is saved, link it to the sites-enabled directory and restart
Nginx.
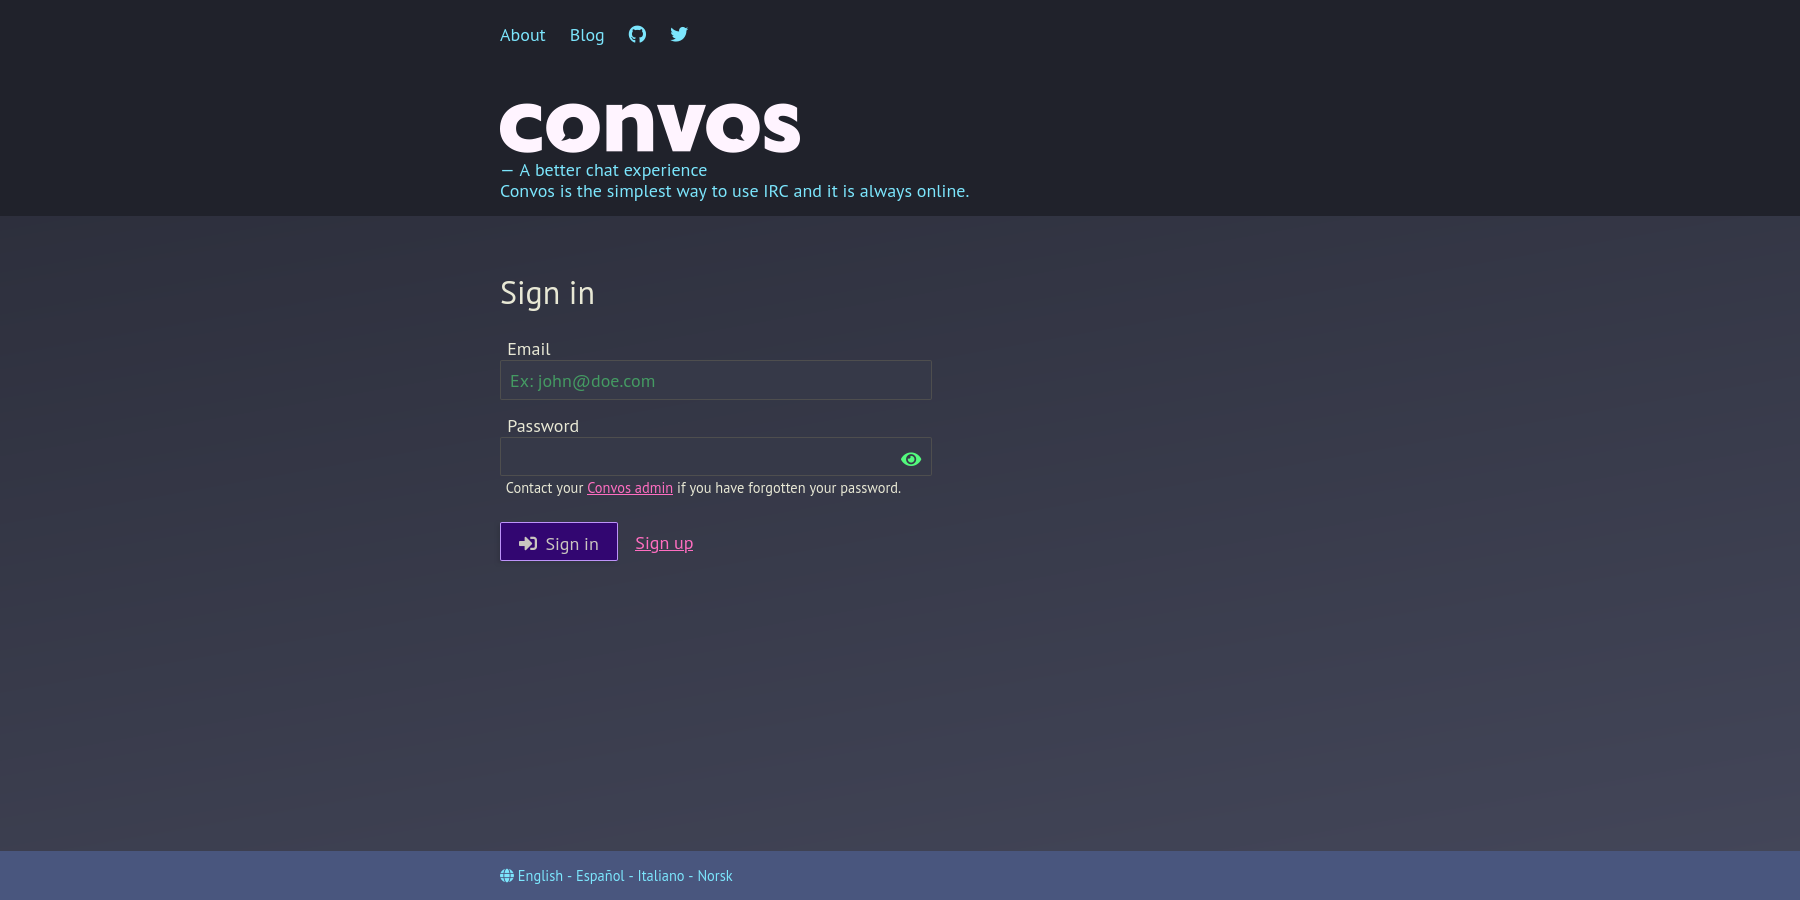
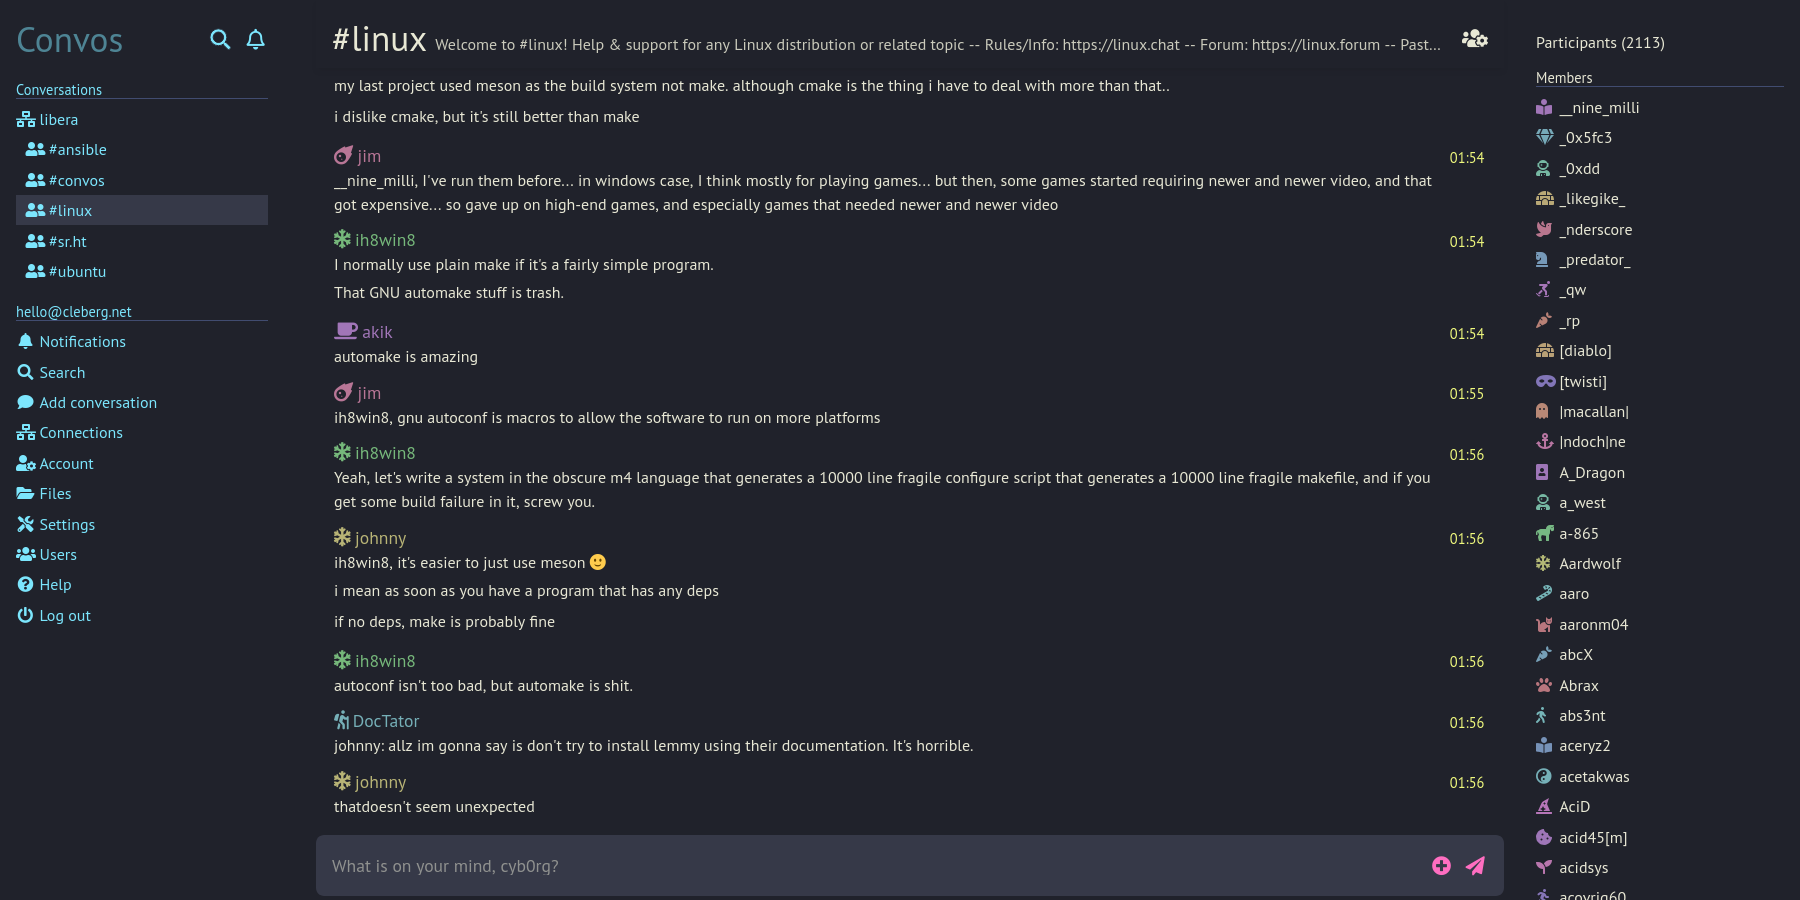
Screenshots
See the screenshots below for an example of the Convos homepage and an excerpt of the chat screen.
There are numerous themes to choose from; the theme shown in the images below is Dracula.
Registering a Nickname
Hop into the server channel so that you can message NickServ. In the case of
Convos, the default sever is libera.chat. Simply click the libera conversation
at the top of the sidebar to open it. Once the chat is open, you can claim a
nickname by typing:
/nick <nick>
If the nickname is available, and you'd like to register the nickname to yourself, you'll need to type another command:
/msg NickServ REGISTER
<password> <email>
On libera.chat, the server will send a confirmation email with a command that you must message in IRC to verify registration of the nickname:
/msg NickServ VERIFY REGISTER <nick> <verification_code>
Once entered, the server should confirm registration of the nickname to the supplied email with the password specified.