An Otter Wiki
An Otter Wiki is an easy to use wiki software that takes almost no effort to set up and maintain.
Installation
To install An Otter Wiki, I'm going to use Docker Compose to create the container and then use Nginx as a reverse proxy to allow external access via a subdomain I own.
Docker Compose
Start by creating a directory for the container's files.
Next, create the docker-compose.yml file to define the container's parameters.
Within the file, paste the following content. You can read the project's documentation if you want to further override or customize the container.
'3'
redimp/otterwiki:2
restart: unless-stopped
- 8337:80
- ./app-data:/app-data
Once the file is saved and closed, you can launch the container.
The container is now available at localhost:8337. Next, we will use Nginx to
serve this app externally.
Nginx
To access the app externally, let's set up a reverse proxy. I'll start by creating the Nginx configuration file for my wiki.
Within the file, I have saved the following content. This assumes you already
have a TLS/SSL cert to use with this subdomain. If not, simply remove the
ssl_* variables, remove the 80 server block, and change the 443 server
block to 80 to serve the app without SSL.
server {
if ($host ~ ^[^.]+\.example\.com$) {
301 ;
}
[::]:80;
80;
wiki.example.com;
404;
}
server {
[::]:443 ssl http2;
443 ssl http2;
wiki.example.com;
/var/log/nginx/wiki.access.log;
/var/log/nginx/wiki.error.log;
/etc/letsencrypt/live/example.com/fullchain.pem;
/etc/letsencrypt/live/example.com/privkey.pem;
include /etc/letsencrypt/options-ssl-nginx.conf;
/etc/letsencrypt/ssl-dhparams.pem;
location / {
$upstream_wiki ;
$upstream_wiki;
Host $http_host;
X-Real-IP $remote_addr;
X-Forwarded-For $proxy_add_x_forwarded_for;
X-Forwarded-Host $http_host;
}
}
Save and close the configuration file. On Nginx, we need to symlink the file to enable it.
Once enabled, restart the Nginx server to start serving the app externally.
Screenshots
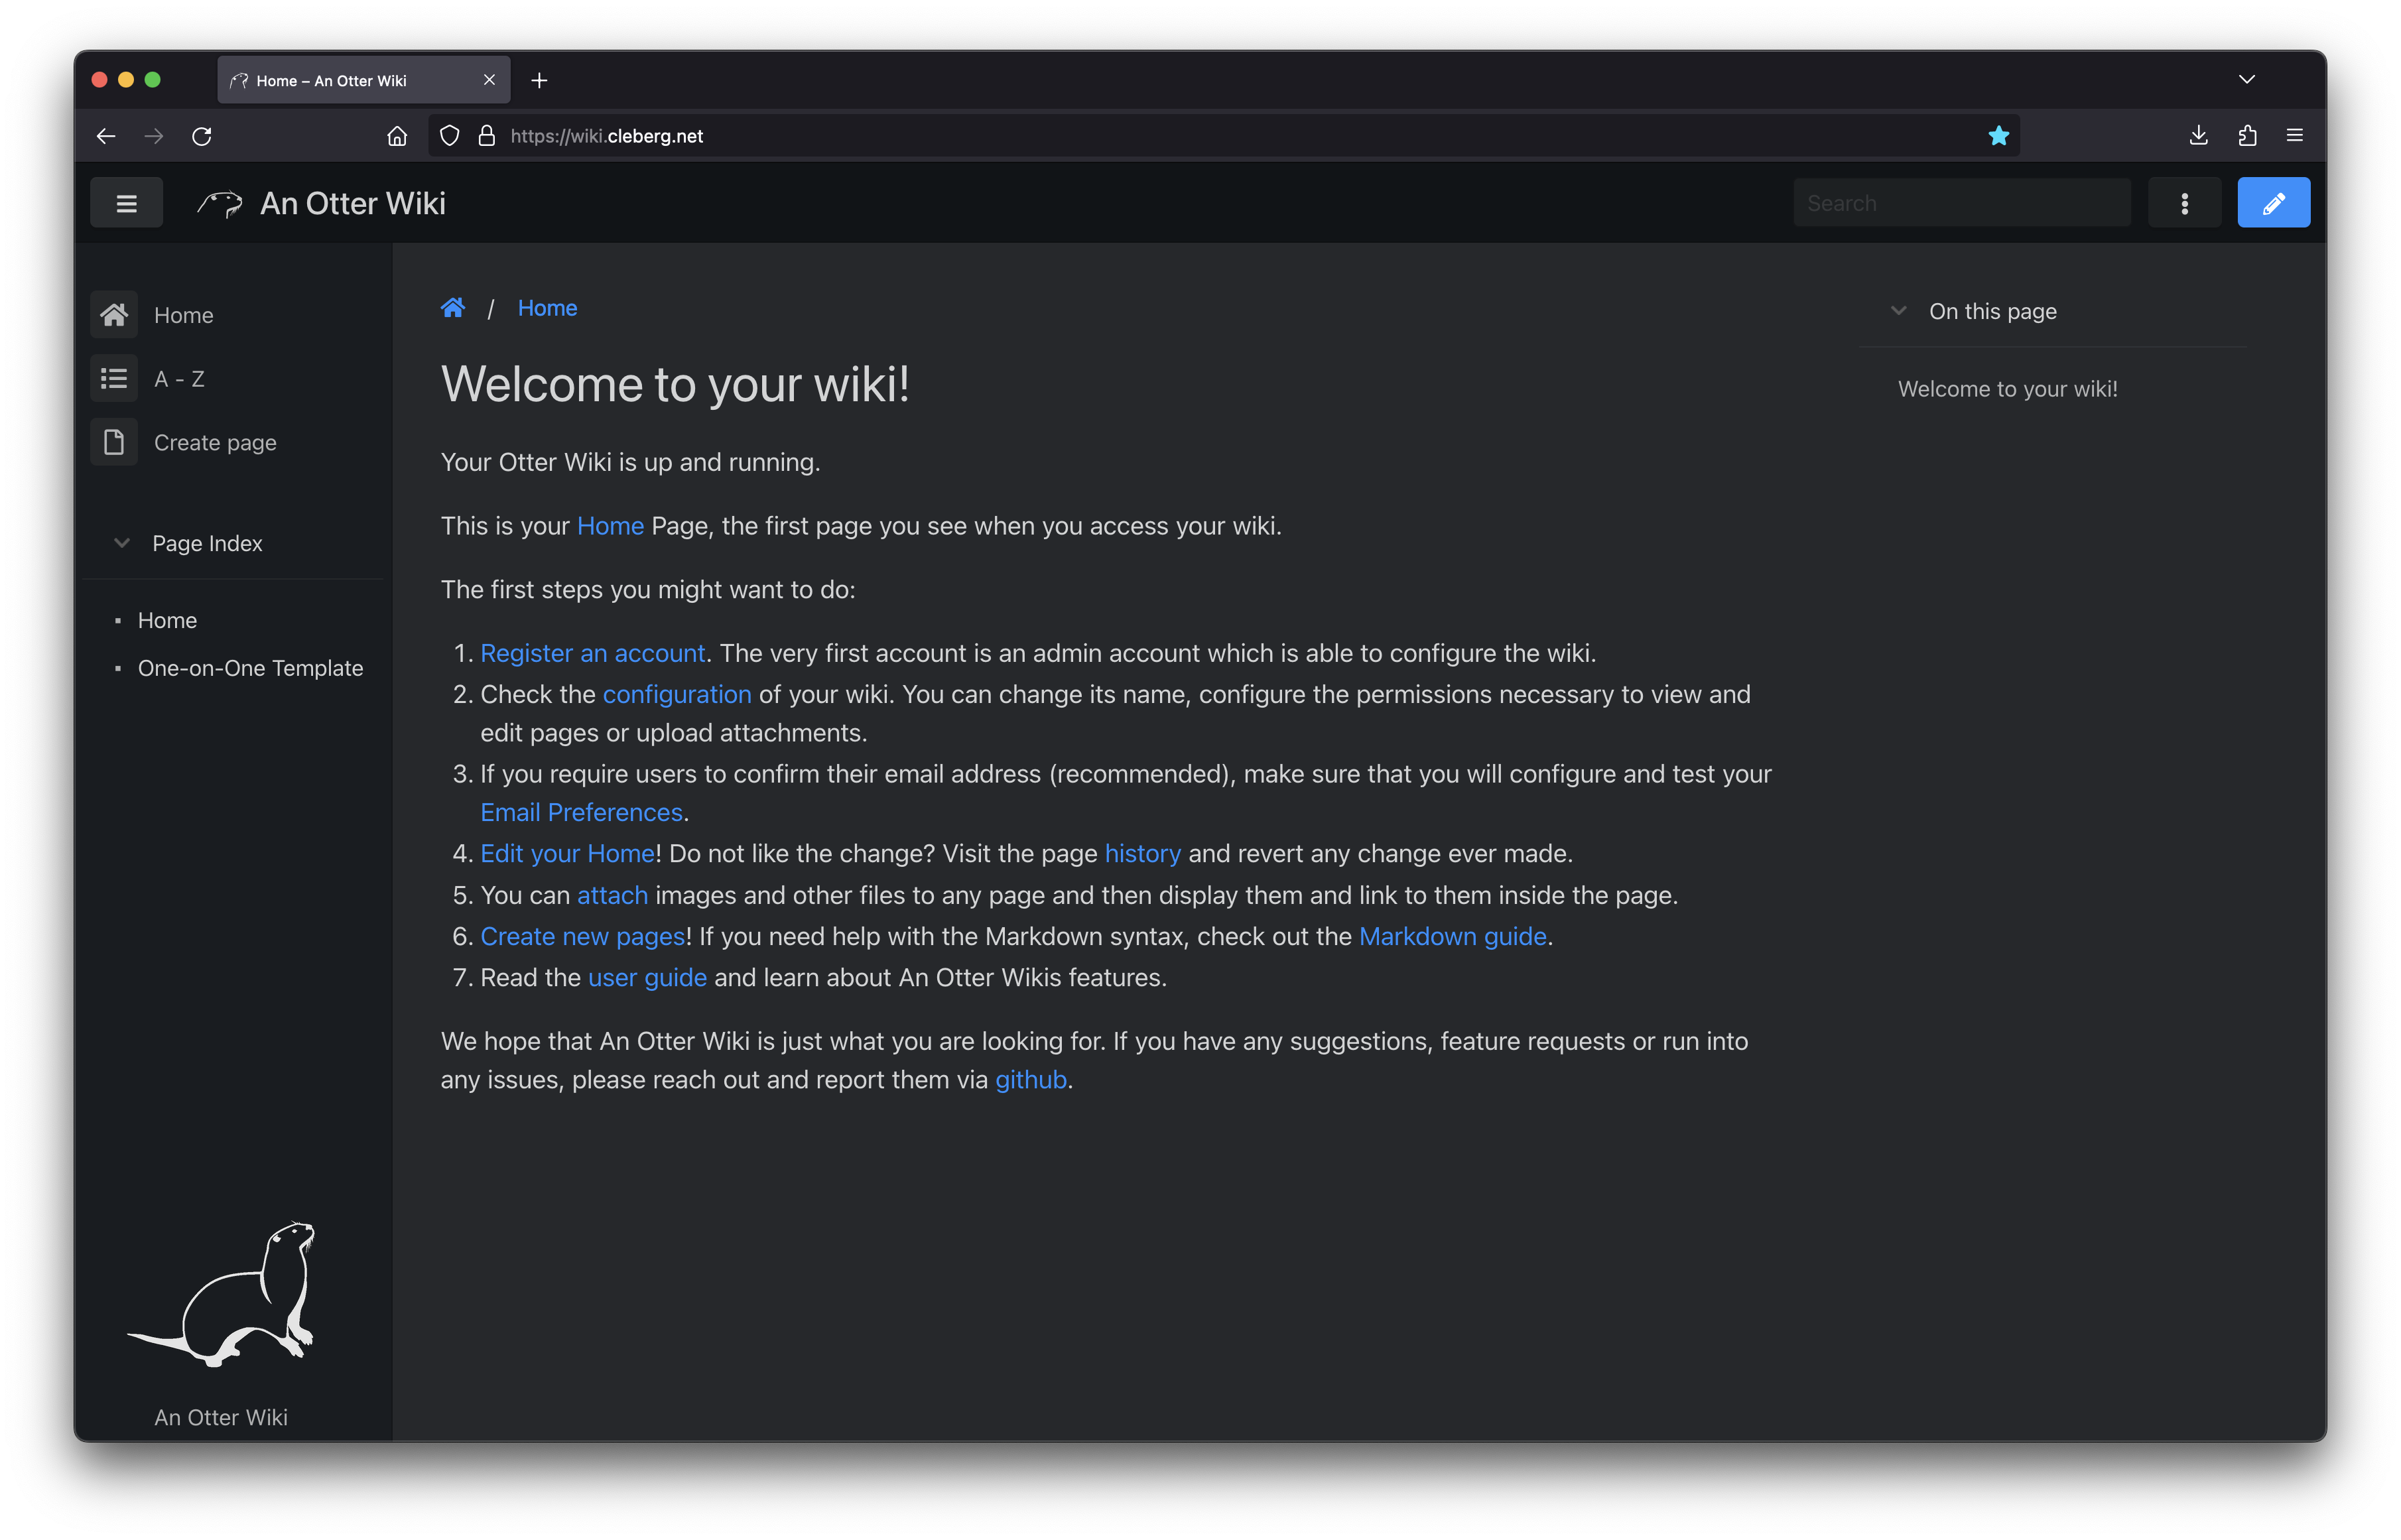
In the screenshot below, you can see the initial launch screen for An Otter Wiki. Start by creating your admin account and configure the app as necessary.
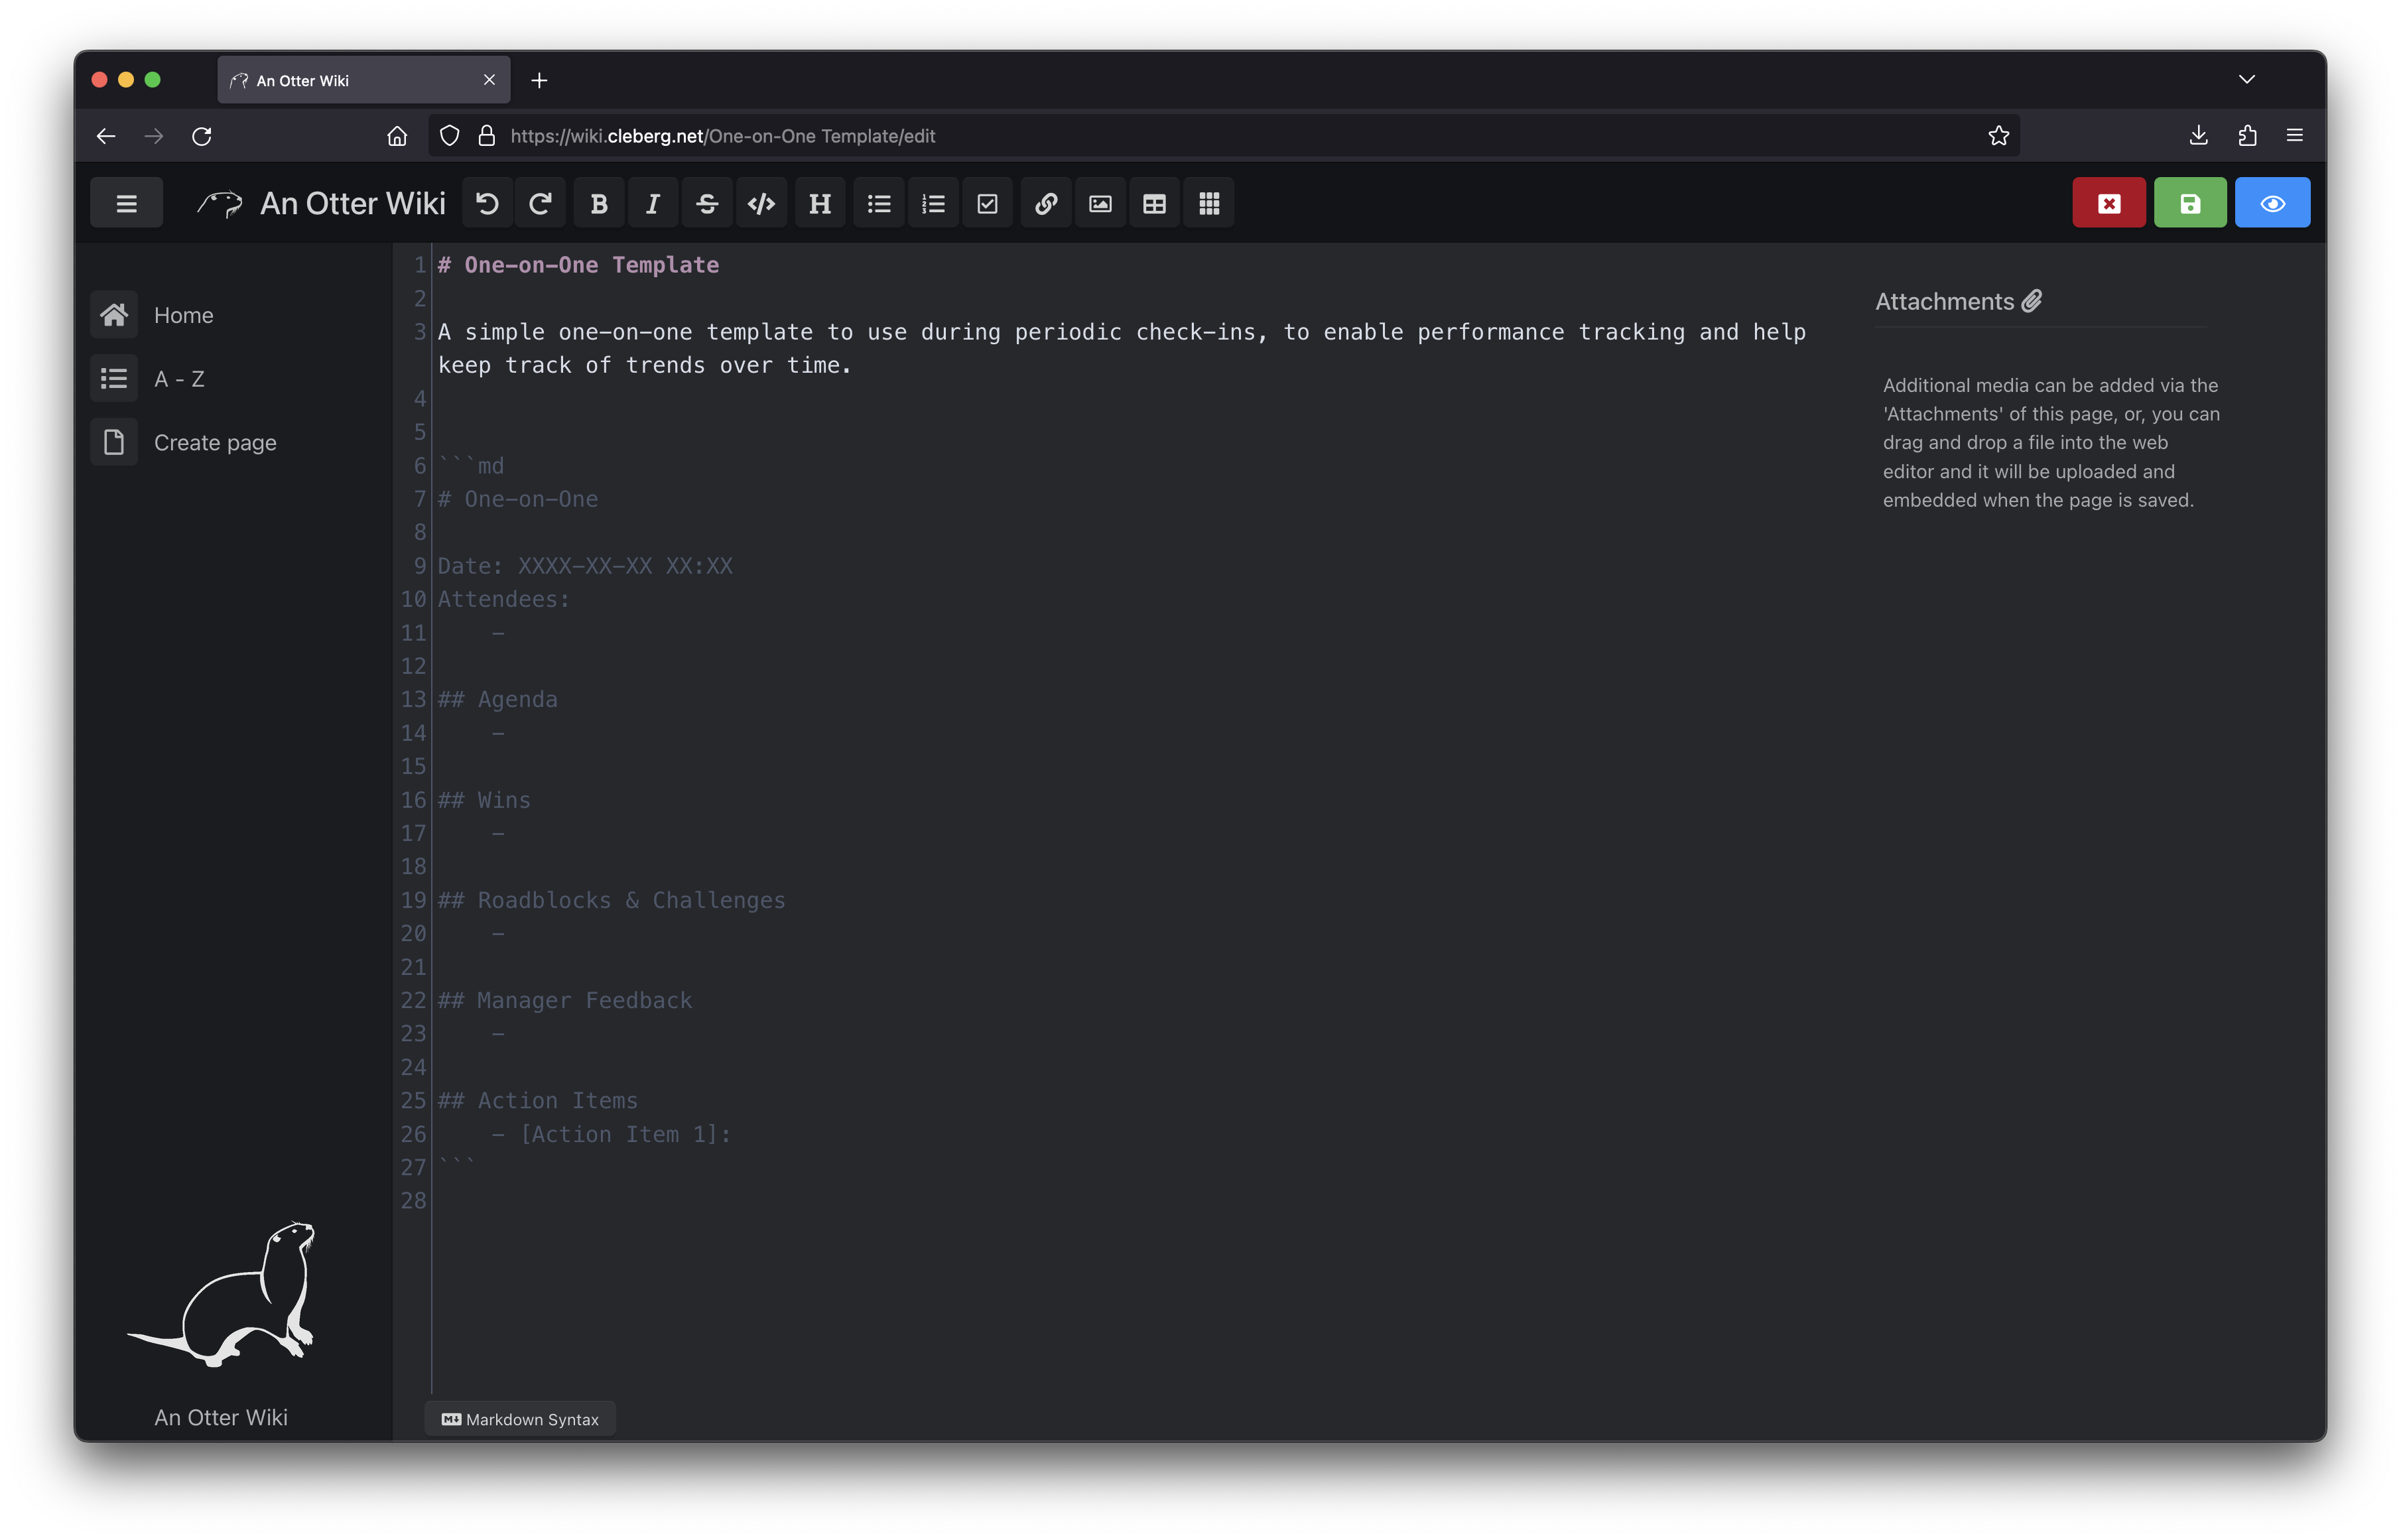
You can also see the default editing screen for creating and editing pages. It's as easy as typing Markdown and hitting the save button.
Overall, I like An Otter Wiki and will be looking forward to seeing how much use I get out of it going forward.