Post Updates
After reviewing this post today (2022-10-04), I noticed quite a few gaps in my write-up and wanted to add a few things, even though this blog is really just a retrospective and knowledge dump for myself. I left things intact and simply crossed them out (
like this) for posterity.
Planning Data Flows & Security
My Personal Data Flow
                                                          ┌───────┐   ┌─────────────────┐
                                                       ┌──► VLAN1 ├───► Private Devices │
                                                       │  └───────┘   └─────────────────┘
┌──────────┐   ┌────────┐   ┌──────────┐   ┌────────┐  │
│ Internet ├───► Router ├───► Firewall ├───► Switch ├──┤
└──────────┘   └────────┘   └──────────┘   └────────┘  │
                                                       │  ┌───────┐   ┌───────────────┐
                                                       └──► VLAN2 ├───► Public Server │
                                                          └───────┘   └───────────────┘
Thought Process
To serve content from your home server and harden your security posture, you
have to think about the transport of data from server to client.
Let's start with the actual server itself. Think about the following:
- Do I have a firewall enabled? Do I need to update this to allow new ports or IPs?
- Do I have an IPS/IDS that may prevent outside traffic?
- Do I have any other security software installed?
- Are the services hosted inside Docker containers, behind a reverse proxy, or virtualized? If so, are they configured to allow outside traffic?
Once the data leaves the server, where does it go? In my case, it goes to a managed switch. In this case, I asked the following:
- What configurations is the switch using?
- Am I using VLANs?
- Yes, I am using 802.1Q VLANs.
- Are the VLANs configured properly?
- Yes, as shown in the Switch section below, I have a separate VLAN to allow outside traffic to and from the server alone. No other devices, except for a service port, and in that VLAN.
At this point, the data has been processed through the switch. Where does it go next? In my case, it's pretty simple: it goes to the router/modem device.
- Does my ISP block any ports that I need?
- This is an important step that a lot of people run into when self-hosting at home. Use an online port-checker tool for your IP or call your ISP if you think ports are blocked.
- Is there a router firewall?
- Yes, I checked that it's configured to allow the ports I need to run my services publicly. Common web servers and reverse proxies require ports 80 and 443, but other services like media servers or games can require unique ports, so be sure to check the documentation for your service(s).
- Are there any other settings affecting inbound/outbound traffic?
- Schedules or access blocks
- Static Routing
- QoS
- Port Forwarding
- DMZ Hosting
- Remote Management (this can sometimes mess with services that also require the use of ports 80 and 443)
Once the data leaves my router, it goes to the upstream ISP and can be accessed publicly.
Server
+The services I run on my server are installed straight into the OS, without any use of Docker or VMs, so I don't need any extra application configuration to make them accessible to the outside world.+
As of 2022-10-04, the paragraph above is no longer true as I now run a reverse proxy with Nginx and host many services inside Docker. However, it doesn't change anything regarding this post as I still just need to open ports 80 & 443 and create the necessary website configuration files.
When creating new services - either installed directly on bare metal or within
something like Docker - I ensure that I read through the documentation
thoroughly to understand a few key things: - What network activities should this
app perform (if any)? Using which ports and protocols? - Does this app require
any commands/services to be run as root? - Does this app log errors,
authentication failures/successes, or anything else that would be useful for an
investigation?
For extra security, I use limit all incoming connections to SSH connections
through my server firewall (ufw) and disable common SSH settings. After all of
that, I use fail2ban as a preventative measure against brute-force login
attempts.
As another piece of security, you can randomize your SSH port to ensure that
random scanners or attackers can't easily try to force their way into your
network. For example, you can edit the port rules in your server to block all
connection requests to port 22 but forward all remote connections from port
12345 to your server's port 22. Then you just need to SSH to your network
via your randomized port.
ufw
To see how to configure ufw, see my other post: Secure Your Network with the
Uncomplicated
Firewall.
The general notion with an on-device firewall is that you want to deny all incoming connections by default and then selectively open certain ports for services or users that you know need access.
If you know that you will only be logging into this server from a certain set or list of IPs, you can always set the firewall to only allow connections to port 22 from those IPs.
For a quick start to only allow SSH connections to the server, use this:

ssh
-
Using SSH Keys
First, make sure you have an SSH keypair generated on the device(s) that you'll be using to log in to the server. If you don't have an SSH key, run this command:
Now that we have an SSH key, copy it to the server with the following command, which will ask for the user's password before accepting the key:
If you have multiple keys, you'll need to specify which to use. After it's complete,
sshback into the server as that user and make sure it doesn't ask for a password. -
Disable Password & Root Authentication
Now that we can access the server without a password, we will disable password authentication and disable anyone from using
sshto login asroot.To do this, open the
sshd_configfile:You'll need to update the parameters to the values below. If one of these rules is commented-out or doesn't exist, create the rule at the bottom of the file.
no no yesFinally, restart the
sshservice:To test that everything's working so far, open ANOTHER terminal and try logging in as
rootover SSH. It is very important that you keep your current SSH session open and test with an additional session, or you will lock yourself out at some point and will need to use a recovery method (e.g., hooking monitor up to home server) to get yourself back in. -
Enable MFA for
sshThis part is optional, but I highly recommend it. So far, we've ensured that no one can log into our user on the server without using our secret key, and we've ensured that no one can log in remotely as
root. Next, you can enable MFA authentication forsshconnections.This process involves editing a couple files and installing an MFA package, so I will not include all the details in this post. To see how to configure MFA for
ssh, see my other post: Enabling MFA for SSH.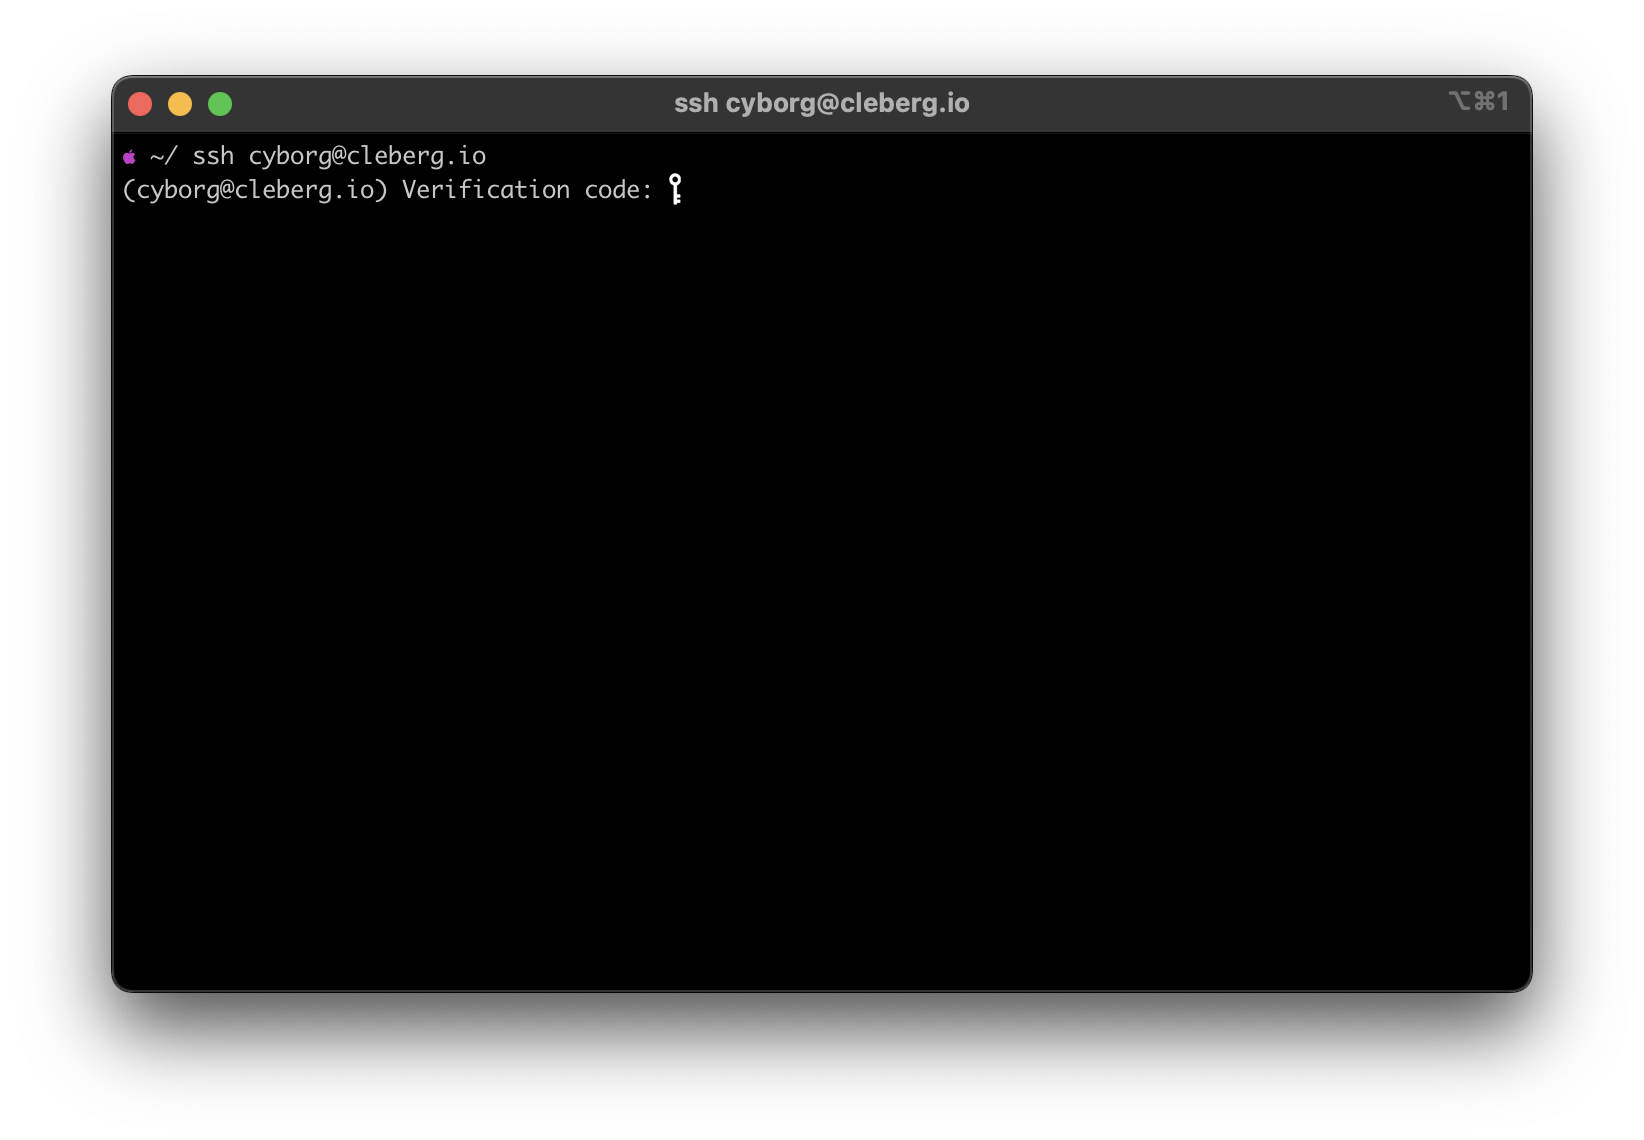
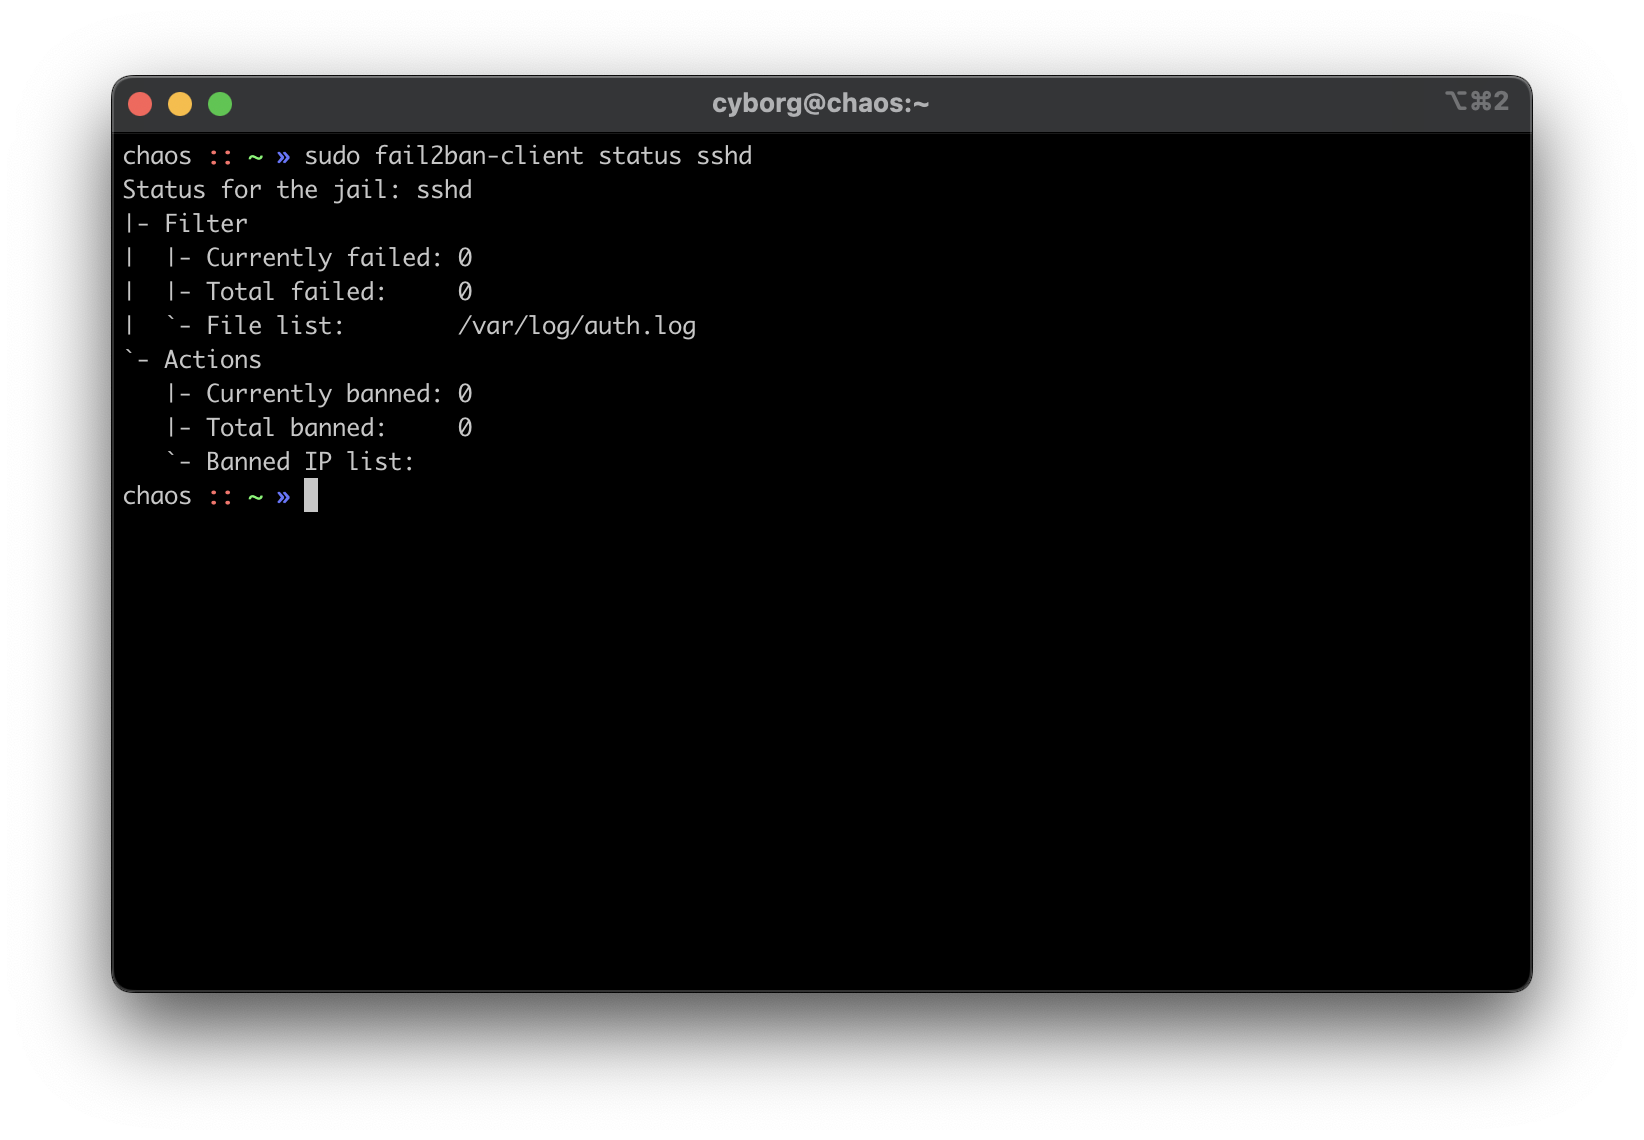
fail2ban
I haven't written a post on how I use fail2ban, but it's quite simple. I use
the default sshd jail, but you can always create new jails for respective
applications or ports. For example, if you use Nginx as your web server, you can
use the nginx-http-auth jail.
In order to get it up and running, use the following commands:
This should be used as a last-resort defense and shouldn't be a replacement for the security measures mentioned above.
Switch
Between the router and any local devices is my managed switch, which is used to create VLANs. The example below shows how I would isolate the VLANs if I were starting to host a single service at home.
802.1Q VLAN Configuration
In this configuration, port 8 is the public server that needs to be accessed from the outside. Port 23 is my 'dedicated service port' for this server. In order to SSH to this server, I need to plug my laptop into port 23 or else I cannot SSH. Otherwise, I'd need to hook up a monitor and keyboard directly to the server to manage it.
| VLAN ID | VLAN Name | Member Ports | Tagged Ports | Untagged Ports |
| ------- | --------- | ------------ | ------------ | -------------- |
| 1 | Default | 1-24 | 1-24 | |
| 2 | Server | 1,8,23 | 1,8,23 |
802.1Q VLAN PVID Setting
Once the VLAN is created, I simply add the VLAN ID of 2 as the PVID for
any related ports (in this case, see that ports 8 and 23 have a PVID of
2).
| Port | PVID |
|---|---|
| 1 | 1 |
| 2 | 1 |
| 3 | 1 |
| 4 | 1 |
| 5 | 1 |
| 6 | 1 |
| 7 | 1 |
| 8 | 2 |
| 9 | 1 |
| 10 | 1 |
| 11 | 1 |
| 12 | 1 |
| 13 | 1 |
| 14 | 1 |
| 15 | 1 |
| 16 | 1 |
| 17 | 1 |
| 18 | 1 |
| 19 | 1 |
| 20 | 1 |
| 21 | 1 |
| 22 | 1 |
| 23 | 2 |
| 24 | 1 |
Router
On my router, the configuration was as easy as opening the firewall settings and unblocking the ports I needed for my services (e.g., HTTP/S, Plex, SSH, MySQL, etc.).
Since I'm relying on an ISP-provided modem/router combo for now (not by choice), I do not use any other advanced settings on my router that would inhibit any valid traffic to these services.
The paragraph above regarding the ISP-owned router is no longer accurate as I now use the Ubiquiti Unifi Dream Machine Pro as my router. Within this router, I enabled port forwarding/firewall rules, segregate the network based on the device, and enable traffic restrictions (e.g., silently drop traffic from certain countries and threat categories).
If you have the option with your ISP, I recommend using a personal router with software that you are familiar with so that you can explore all the options available to you.
Physical Security
One large piece of self-hosting that people generally don't discuss online is physical security. However, physical security is very important for everyone who hosts a server like this. Exactly how important it is depends on the server use/purpose.
If you self-host customer applications that hold protected data (HIPAA, GDPR, COPPA, etc.), then physical security is extremely important and cannot be ignored. If you simply host a blog and some hobby sites, then it's a relatively minor consideration, but one you still need to think about.
Location
The first consideration is quite simple: location.
- Is the server within a property you own or housed on someone else's property?
- Is it nearby (in your house, in your work office, in your neighbor's garage, in a storage unit, etc.)?
- Do you have 24/7 access to the server?
- Are there climate considerations, such as humidity, fires, tornadoes, monsoons?
- Do you have emergency equipment nearby in case of emergency?
Hardware Ownership
Secondly, consider the hardware itself:
- Do you own the server in its entirety?
- Are any other users able to access the server, even if your data/space is segregated?
- If you're utilizing a third party, do they have any documentation to show responsibility? This could be a SOC 1/2/3 report, ISO compliance report, internal security/safety documentation.
Physical Controls
Regardless of who owns the hardware, ensure that there are adequate safeguards in place, if necessary. These usually don't apply to small home servers and are usually covered already if you're utilizing a third party.
These can include:
- Server bezel locks
- Server room locks - physical, digital, or biometric authentication
- Security cameras
- Raised floors/lowered ceilings with proper guards/gates in-place within the floors or ceilings
- Security personnel
- Log sheets and/or guest badges