Self-Hosting Guide: Authelia
· Setting up Authelia for two-factor auth and access control on self-hosted apps.
#linux #security #self-hosting
Table of Contents
1. Overview
Authelia is an open-source authentication service that allows you to place a portal between end users on the internet and self-hosted services on your server.
You can require one factor (username+password) or two factor authentication for any such user before allowing them to access a specific service on your domain.
This guide will walk through a standard installation of Authelia for example.com, using auth.example.com as Authelia's authentication domain and teddit.example.com as the website we want to protect behind the authentication portal.
2. Prerequisites
This guide assumes you have the following already set-up:
- A registered domain with DNS pointing to your server.
- A subdomain for Authelia (
auth.example.com) and a subdomain to protect via Authelia (app.example.com). - A working Nginx web server.
- Docker and docker-compose installed.
3. Installation
This guide will walk through each installation step one-by-one, starting with the container and finishing by cleaning up external access via an Nginx reverse proxy.
3.1. Docker-Compose
To start, create a directory for Authelia and create a docker-compose.yml file.
Within this file, paste the following content. If you prefer a different local port, modify the port on the left side of the colon on the 9091:9091 line. Be sure to modify the TZ variable to your timezone.
version: "3.3"

services:
    authelia:
        image: authelia/authelia
        container_name: authelia
        volumes:
            - ./config:/config
        ports:
            - 9091:9091
        environment:
            - TZ=America/Chicago
Start the container with docker-compose:
After the first start, the container will automatically exit and require you to modify the app's configuration files before continuing. Read on to learn more.
3.2. Authelia Configuration
To configure Authelia before we restart the container, we need to open the config directory and modify the files. Start by editing the configuration.yml file, where all of Authelia's settings are stored.
My personal preference is to copy the original configuration file to a backup file and edit a fresh copy.
Within the blank configuration.yml file, paste the following information. You will need to make quite a few updates, so be sure to read each line carefully and modify as necessary.
The major required changes are:
- Any instances of
example.comshould be replaced by your domain. jwt_secret- Use thepwgen 40 1command to generate a secret for yourself.access_control- Set the Authelia domain to bypass here, as well as any subdomains you want to protect.session>secret- Use thepwgen 40 1command to generate a secret for yourself.regulation- Set the variables here to restrict login attempts and bans.storage>encryption_key- Use thepwgen 40 1command to generate a secret for yourself.smtp- If you have access to an SMTP service, set up the information here to active outgoing emails.
# yamllint disable rule:comments-indentation
---
###############################################################################
#                           Authelia Configuration                            #
###############################################################################

theme: dark
jwt_secret: aiS5iedaiv6eeVaideeLeich5roo6ohvaf3Vee1a # pwgen 40 1

default_redirection_url: https://example.com

server:
    host: 0.0.0.0
    port: 9091
    path: ""
    read_buffer_size: 4096
    write_buffer_size: 4096
    enable_pprof: false
    enable_expvars: false
    disable_healthcheck: false
    tls:
        key: ""
        certificate: ""

log:
    level: debug

totp:
    issuer: example.com
    period: 30
    skew: 1

authentication_backend:
    disable_reset_password: false
    refresh_interval: 5m
    file:
        path: /config/users_database.yml
        password:
            algorithm: argon2id
            iterations: 1
            key_length: 32
            salt_length: 16
            memory: 1024
            parallelism: 8

access_control:
    default_policy: deny
    rules:
        - domain:
              - "auth.example.com"
          policy: bypass
        - domain: "teddit.example.com"
          policy: one_factor

session:
    name: authelia_session
    secret: aiS5iedaiv6eeVaideeLeich5roo6ohvaf3Vee1a # pwgen 40 1
    expiration: 3600
    inactivity: 300
    domain: example.com

regulation:
    max_retries: 5
    find_time: 10m
    ban_time: 12h

storage:
    local:
        path: /config/db.sqlite3
    encryption_key: aiS5iedaiv6eeVaideeLeich5roo6ohvaf3Vee1a # pwgen 40 1

notifier:
    disable_startup_check: true
    smtp:
        username: user@example.com
        password: password
        host: smtp.example.com
        port: 465
        sender: user@example.com
        identifier: example.com
        subject: "[Authelia] {title}"
        startup_check_address: user@example.com
        disable_require_tls: false
        disable_html_emails: true
        tls:
            skip_verify: false
            minimum_version: TLS1.2
3.3. Authelia Users
Next, create the users file for authentication.
Within the file, you will need to create an entry for each user that needs access to Authelia. The my_username entry will be the username used on the login page.
To generate the password, go to Argon2 Hash Generator, generate a random salt, and make sure the rest of the settings match the authentication_backend section of configuration.yml file.
users:
    my_username:
        displayname: "My User"
        # Generated at https://argon2.online/ -- match the settings in
        # the `authentication_backend` section of configuration.yml
        password: ""
        email: email@example.com
        groups:
            - admins
            - dev
Once the app is configured, restart the container from scratch.
&& 3.4. Nginx: Authelia Domain
Once the container is running and configured, the final step is to configure external access to the server via Nginx reverse proxy.
Start by creating the Authelia domain.
Within this file, paste the following information and be sure to update example.com to your domain. Make sure the $upstream_authelia variable matches the location of your Authelia container.
server {
    if ($host ~ ^[^.]+\.example\.com$) {
        return 301 https://$host$request_uri;
    }

    listen [::]:80;
    listen 80;
    server_name auth.example.com;
    return 404;
}

server {
    listen [::]:443 ssl http2;
    listen 443 ssl http2;
    server_name auth.example.com;
    access_log  /var/log/nginx/auth.access.log;
    error_log   /var/log/nginx/auth.error.log;

    ssl_certificate /etc/letsencrypt/live/example.com/fullchain.pem;
    ssl_certificate_key /etc/letsencrypt/live/example.com/privkey.pem;
    include /etc/letsencrypt/options-ssl-nginx.conf;
    ssl_dhparam /etc/letsencrypt/ssl-dhparams.pem;

    location / {
        set $upstream_authelia http://127.0.0.1:9091;
        proxy_pass $upstream_authelia;
        client_body_buffer_size 128k;

        proxy_next_upstream error timeout invalid_header http_500 http_502 http_503;

        send_timeout 5m;
        proxy_read_timeout 360;
        proxy_send_timeout 360;
        proxy_connect_timeout 360;

        proxy_set_header Host $host;
        proxy_set_header X-Real-IP $remote_addr;
        proxy_set_header X-Forwarded-For $proxy_add_x_forwarded_for;
        proxy_set_header X-Forwarded-Proto $scheme;
        proxy_set_header X-Forwarded-Host $http_host;
        proxy_set_header X-Forwarded-Uri $request_uri;
        proxy_set_header X-Forwarded-Ssl on;
        proxy_redirect  http://  $scheme://;
        proxy_http_version 1.1;
        proxy_set_header Connection "";
        proxy_cache_bypass $cookie_session;
        proxy_no_cache $cookie_session;
        proxy_buffers 64 256k;
    }

}
Next, symlink the file and restart Nginx. If there are errors, be sure to resolve those before moving on.
3.5. Nginx: Protected Domain(s)
Now that Authelia is accessible externally, you need to configure the domain you intend to protect with Authelia. In this example, I'm protecting teddit.example.com.
Similar to the process above, paste the content and update the relevant variables.
server {
    if ($host ~ ^[^.]+\.example\.com$) {
        return 301 https://$host$request_uri;
    }

    listen [::]:80;
    listen 80;
    server_name teddit.example.com;
    return 404;
}

server {
    listen [::]:443 ssl http2;
    listen 443 ssl http2;
    server_name teddit.example.com;
    access_log  /var/log/nginx/teddit.access.log;
    error_log   /var/log/nginx/teddit.error.log;

    add_header X-Content-Type-Options "nosniff";
    add_header X-XSS-Protection "1; mode=block";
    add_header X-Frame-Options "DENY";
    add_header Strict-Transport-Security "max-age=63072000; includeSubDomains";
    add_header Referrer-Policy "no-referrer";

    ssl_certificate /etc/letsencrypt/live/example.com/fullchain.pem;
    ssl_certificate_key /etc/letsencrypt/live/example.com/privkey.pem;
    include /etc/letsencrypt/options-ssl-nginx.conf;
    ssl_dhparam /etc/letsencrypt/ssl-dhparams.pem;

    location /authelia {
        internal;
        set $upstream_authelia http://127.0.0.1:9091/api/verify;
        proxy_pass_request_body off;
        proxy_pass $upstream_authelia;
        proxy_set_header Content-Length "";

        proxy_next_upstream error timeout invalid_header http_500 http_502 http_503;
        client_body_buffer_size 128k;
        proxy_set_header Host $host;
        proxy_set_header X-Original-URL $scheme://$http_host$request_uri;
        proxy_set_header X-Real-IP $remote_addr;
        proxy_set_header X-Forwarded-For $remote_addr;
        proxy_set_header X-Forwarded-Proto $scheme;
        proxy_set_header X-Forwarded-Host $http_host;
        proxy_set_header X-Forwarded-Uri $request_uri;
        proxy_set_header X-Forwarded-Ssl on;
        proxy_redirect  http://  $scheme://;
        proxy_http_version 1.1;
        proxy_set_header Connection "";
        proxy_cache_bypass $cookie_session;
        proxy_no_cache $cookie_session;
        proxy_buffers 4 32k;

        send_timeout 5m;
        proxy_read_timeout 240;
        proxy_send_timeout 240;
        proxy_connect_timeout 240;
    }

    location / {
        set $upstream_teddit http://127.0.0.1:8686;
        proxy_pass $upstream_teddit;

        auth_request /authelia;
        auth_request_set $target_url https://$http_host$request_uri;
        auth_request_set $user $upstream_http_remote_user;
        auth_request_set $email $upstream_http_remote_email;
        auth_request_set $groups $upstream_http_remote_groups;
        proxy_set_header Remote-User $user;
        proxy_set_header Remote-Email $email;
        proxy_set_header Remote-Groups $groups;

        error_page 401 =302 https://auth.example.com/?rd=$target_url;

        client_body_buffer_size 128k;

        proxy_next_upstream error timeout invalid_header http_500 http_502 http_503;

        send_timeout 5m;
        proxy_read_timeout 360;
        proxy_send_timeout 360;
        proxy_connect_timeout 360;

        proxy_set_header Host $host;
        proxy_set_header Upgrade $http_upgrade;
        proxy_set_header Connection upgrade;
        proxy_set_header Accept-Encoding gzip;
        proxy_set_header X-Real-IP $remote_addr;
        proxy_set_header X-Forwarded-For $proxy_add_x_forwarded_for;
        proxy_set_header X-Forwarded-Proto $scheme;
        proxy_set_header X-Forwarded-Host $http_host;
        proxy_set_header X-Forwarded-Uri $request_uri;
        proxy_set_header X-Forwarded-Ssl on;
        proxy_redirect  http://  $scheme://;
        proxy_http_version 1.1;
        proxy_set_header Connection "";
        proxy_cache_bypass $cookie_session;
        proxy_no_cache $cookie_session;
        proxy_buffers 64 256k;
    }
}
Same as before, symlink the file and restart Nginx.
4. Results
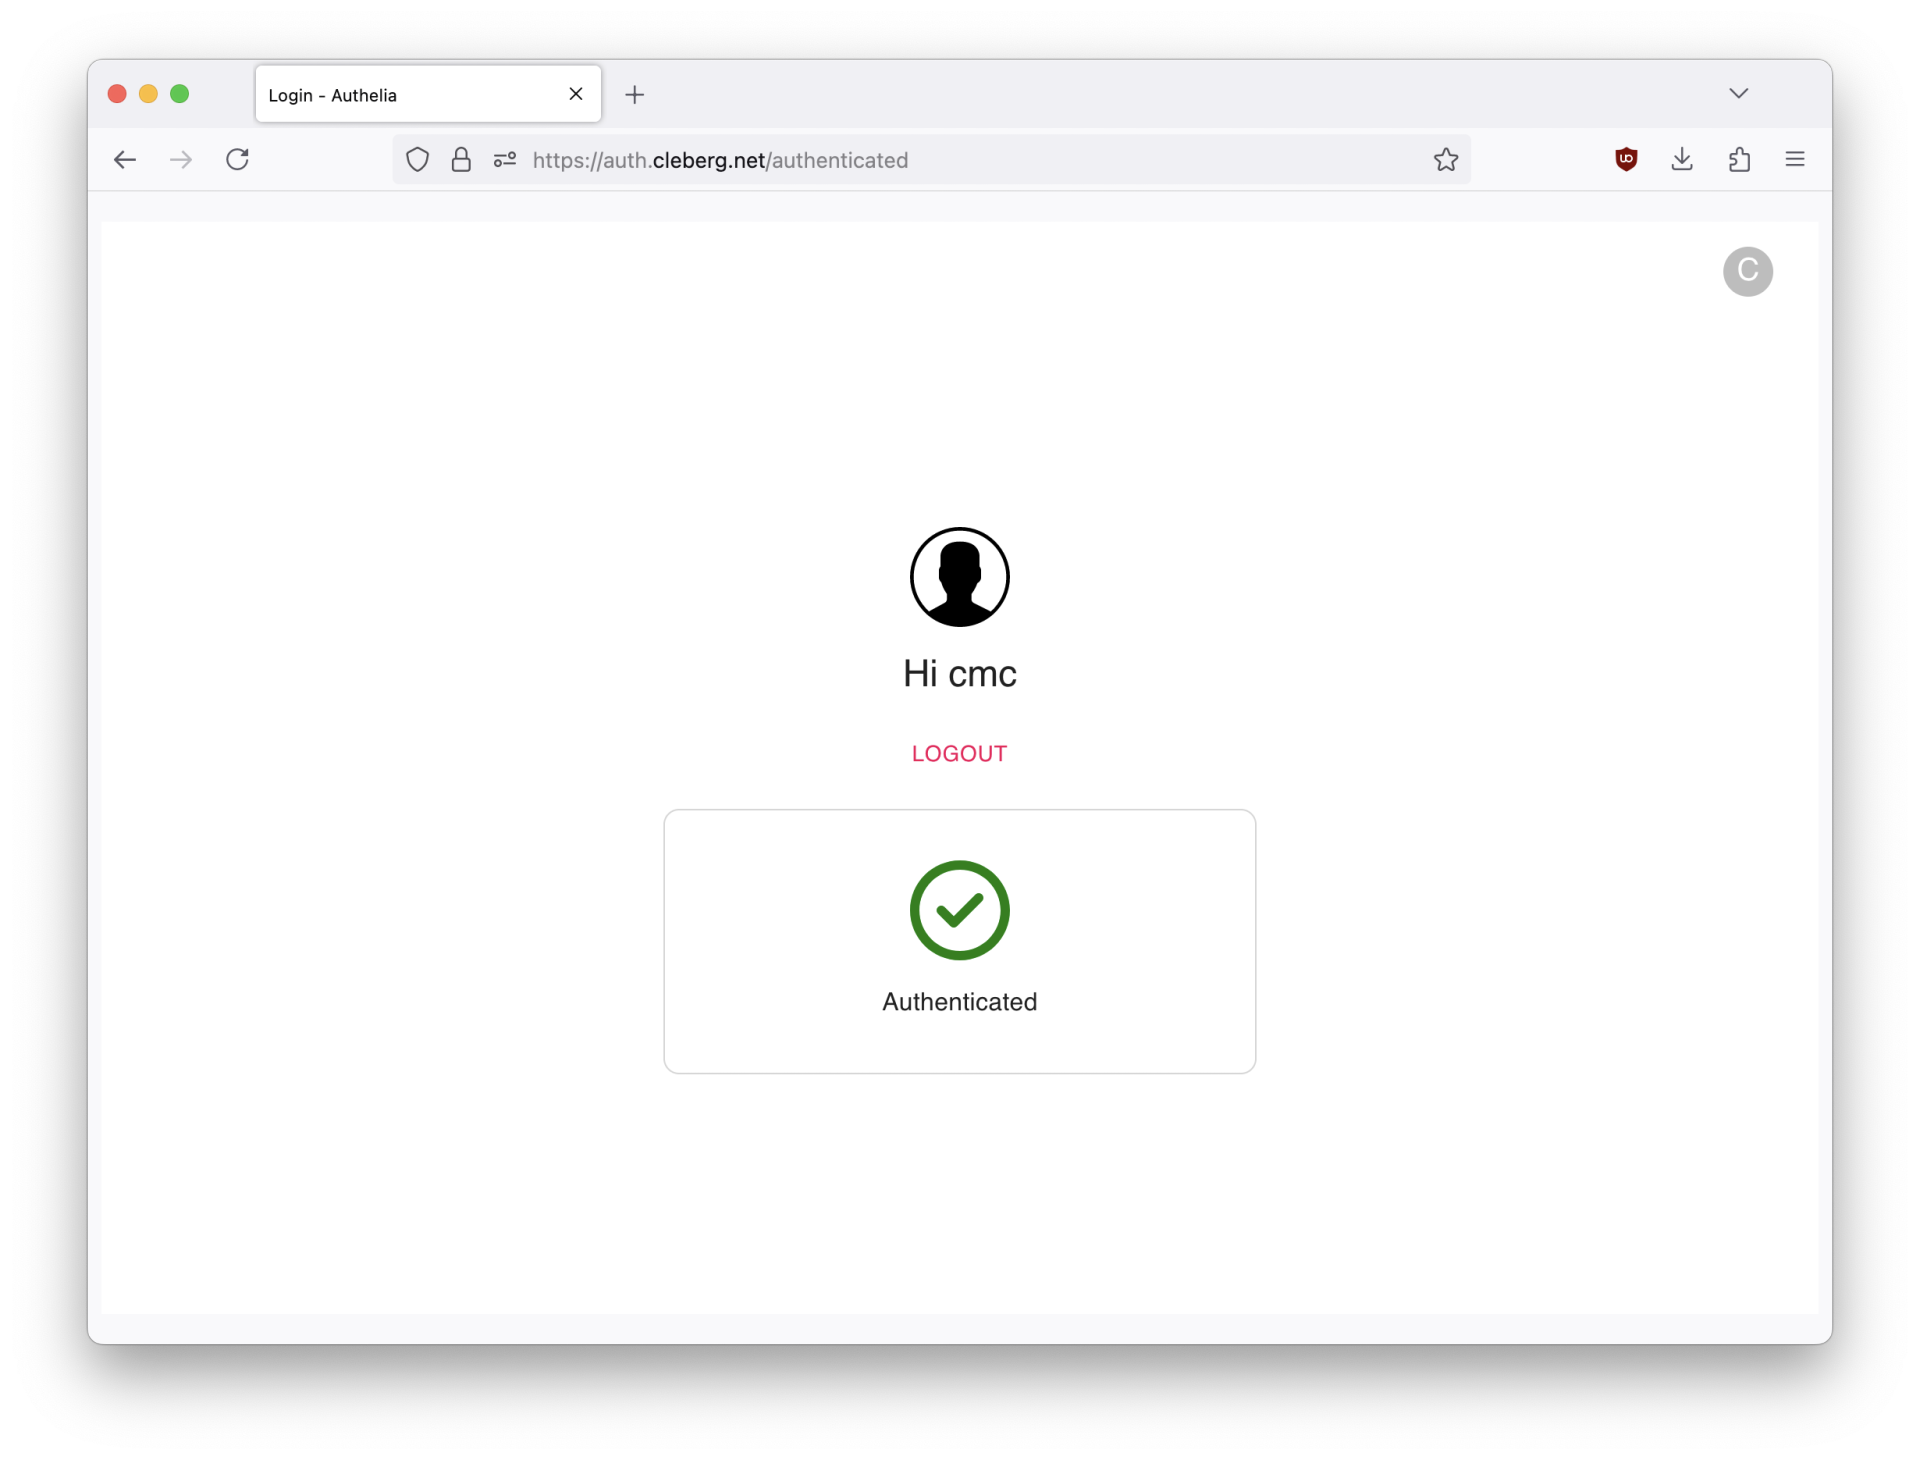
When visiting the protected domain, you will now be redirected to your authentication domain and presented with the Authelia login portal.
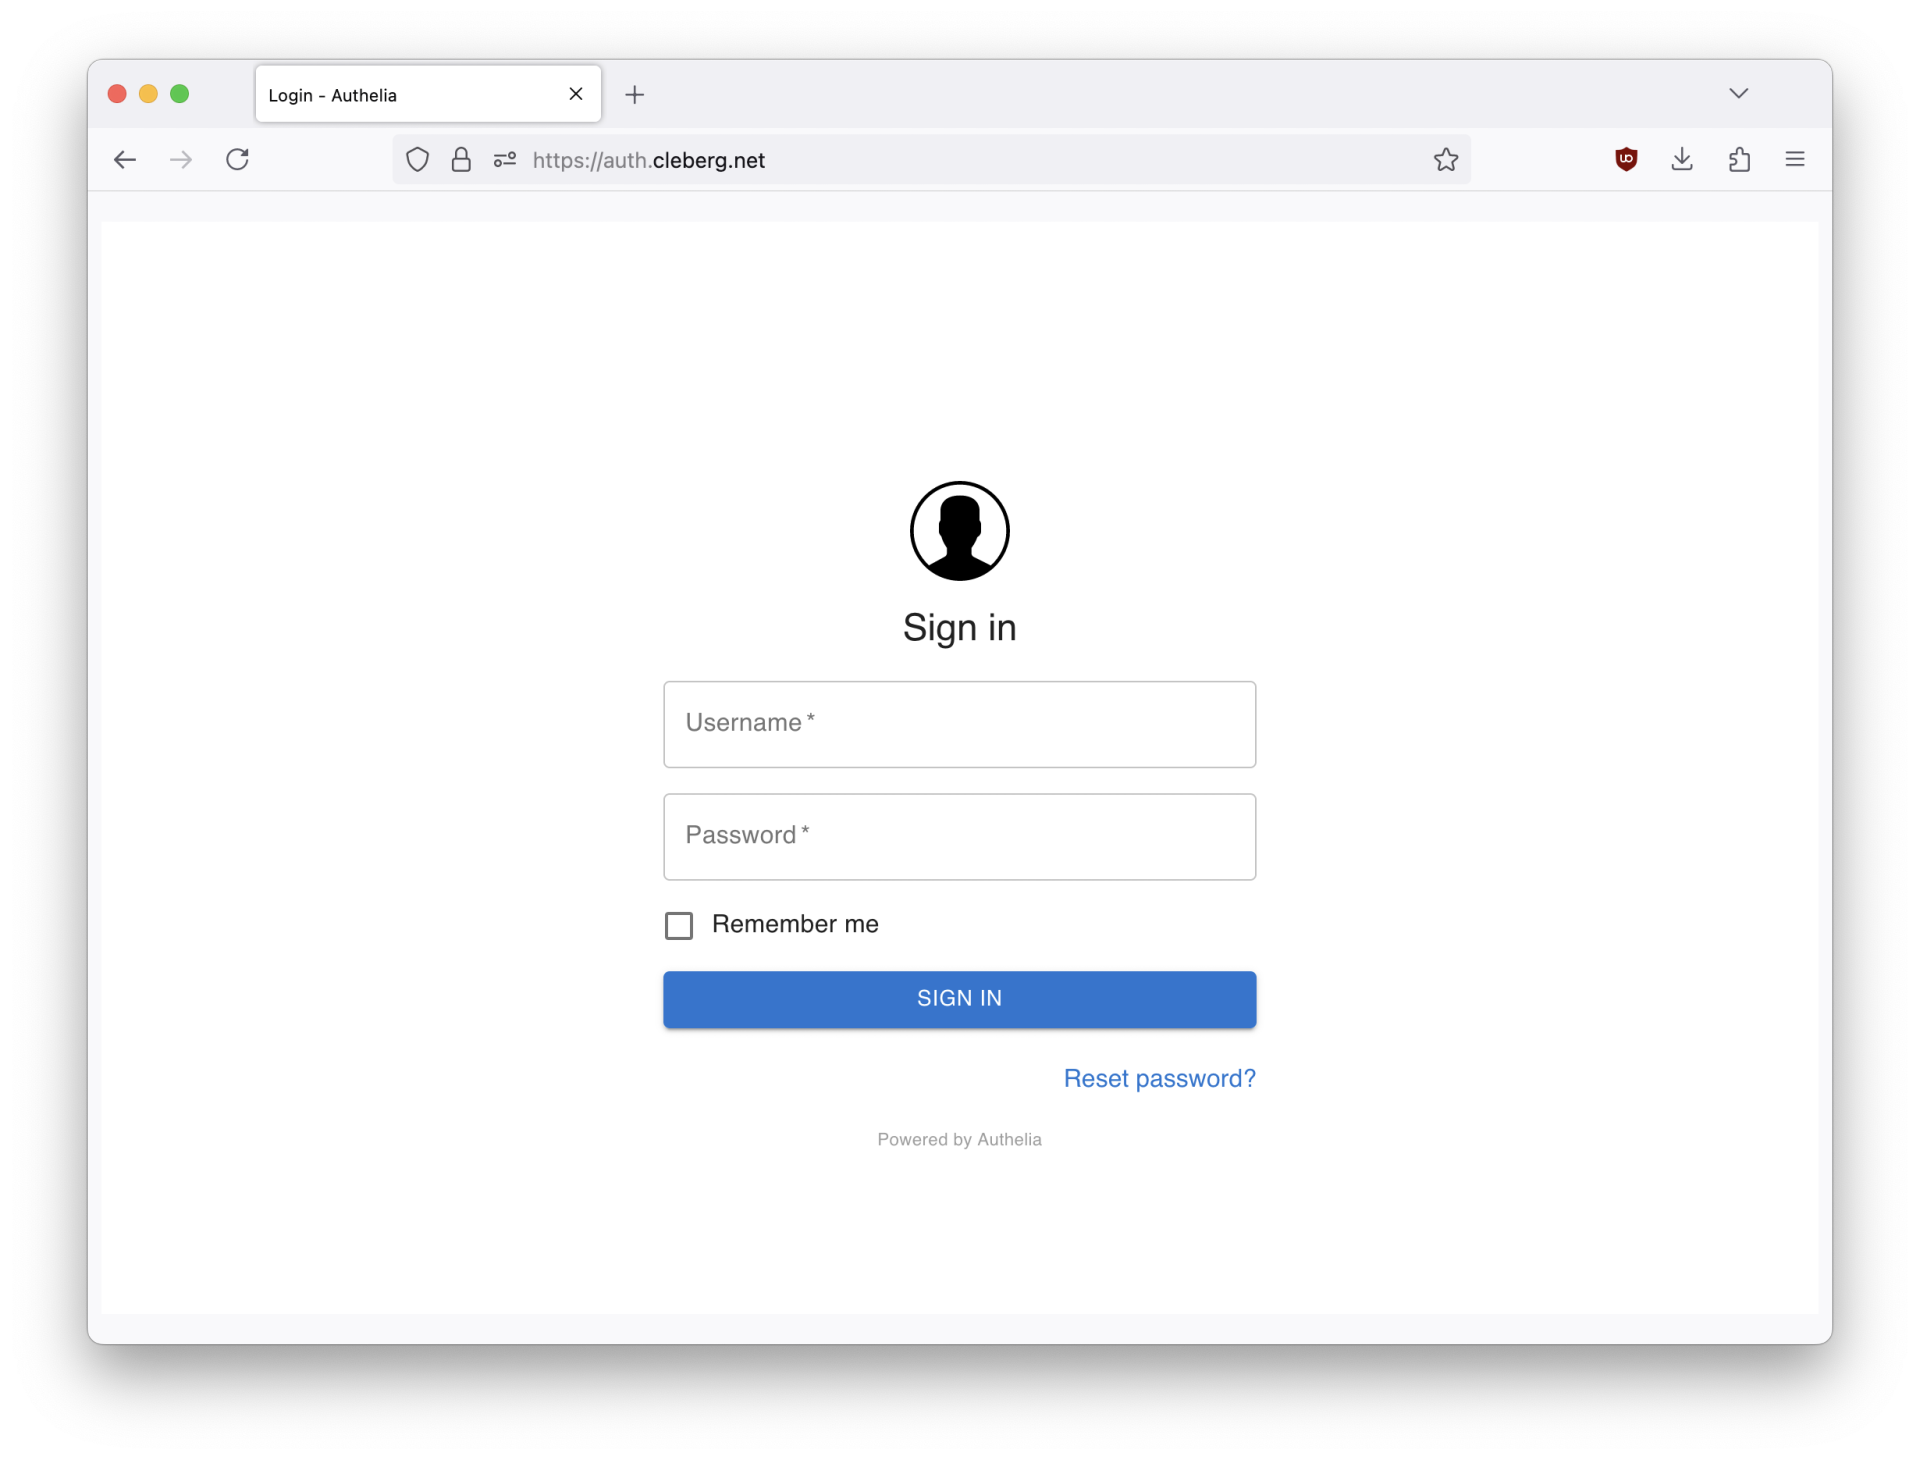
Once you've successfully authenticated, you can visit your authentication domain directly and see that you're currently authenticated to any domain protected by Authelia.