Being a macOS user who previously used Linux for many years, I often find myself searching for alternatives to the Linux-native tools and methods that I had become used to over the years.
Luckily, there's an option to simply use Linux directly on your macOS device without having to boot the whole device into Linux or having to SSH into another Linux machine.
In this post, I use OrbStack to create an Ubuntu Linux machine to take advantage of the Linux system.
Installing OrbStack
OrbStack has a download page if you prefer to
use *.dmg files to install applications.
Personally, I prefer to install everything through Homebrew. For OrbStack, run the following to install the application via Homebrew:
Creating a Linux Machine
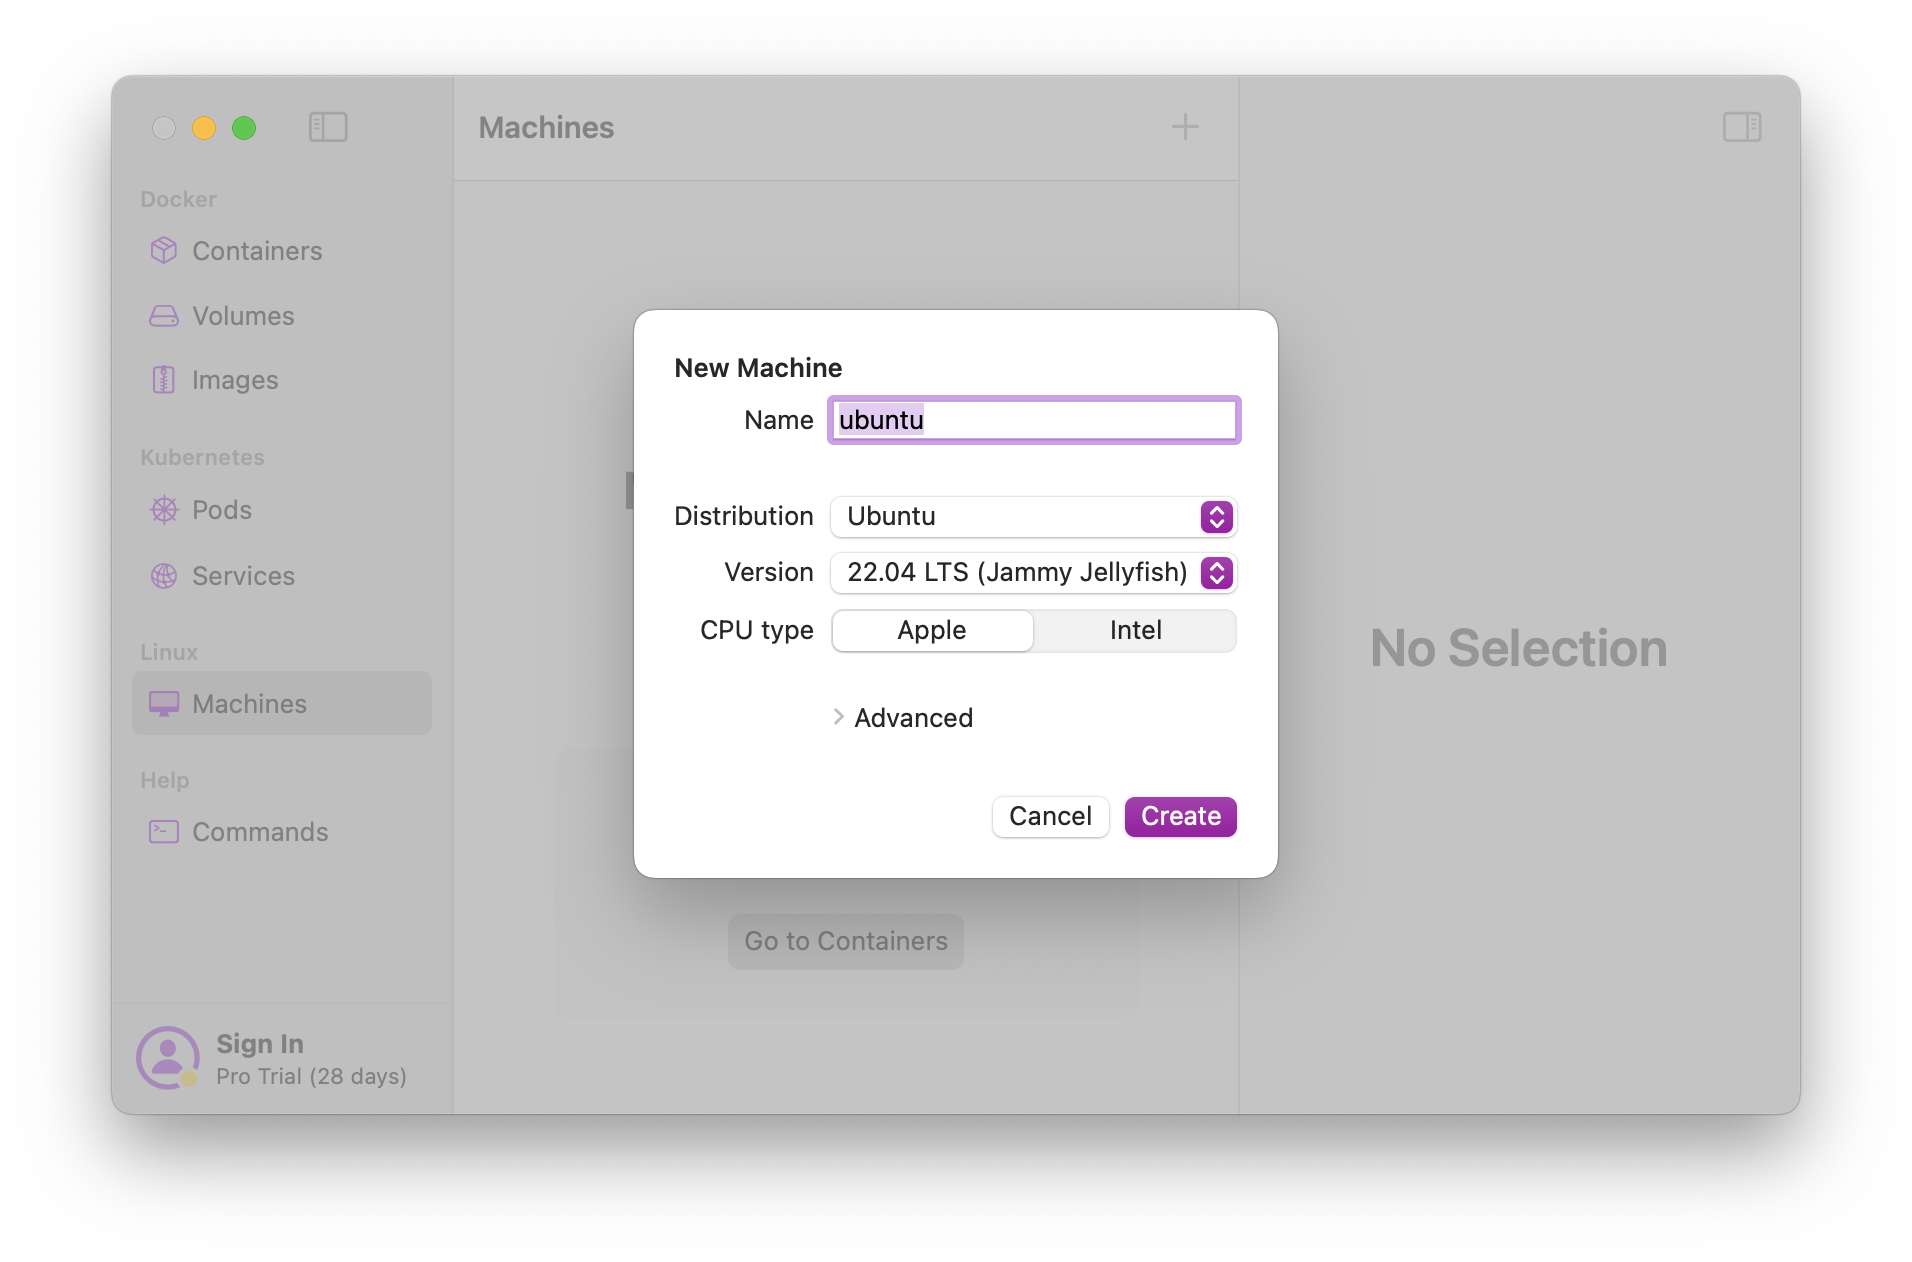
Once installed, you can launch OrbStack and create a Linux machine in a matter of seconds. The creation dialog defaults to Ubuntu.
Launching the Machine
Once created, the dialog will close and you will be presented with your new list of machines. Simply double-click on a machine to run it.
When you run the machine for the first time, it may warn you that a program is
attempting to run a shell script. You can choose to manually inspect this shell
script via the provided path if you wish. When you're comfortable with the
script, you can toggle the Suppress this message permanently button and click
OK to run the machine.
Quick Tip!
You will always be able to launch the OrbStack application and control the machine via the Machines page, but you can also use the OrbStack icon in the macOS menu bar to quickly control the machine without launching OrbStack itself.
Working in Linux
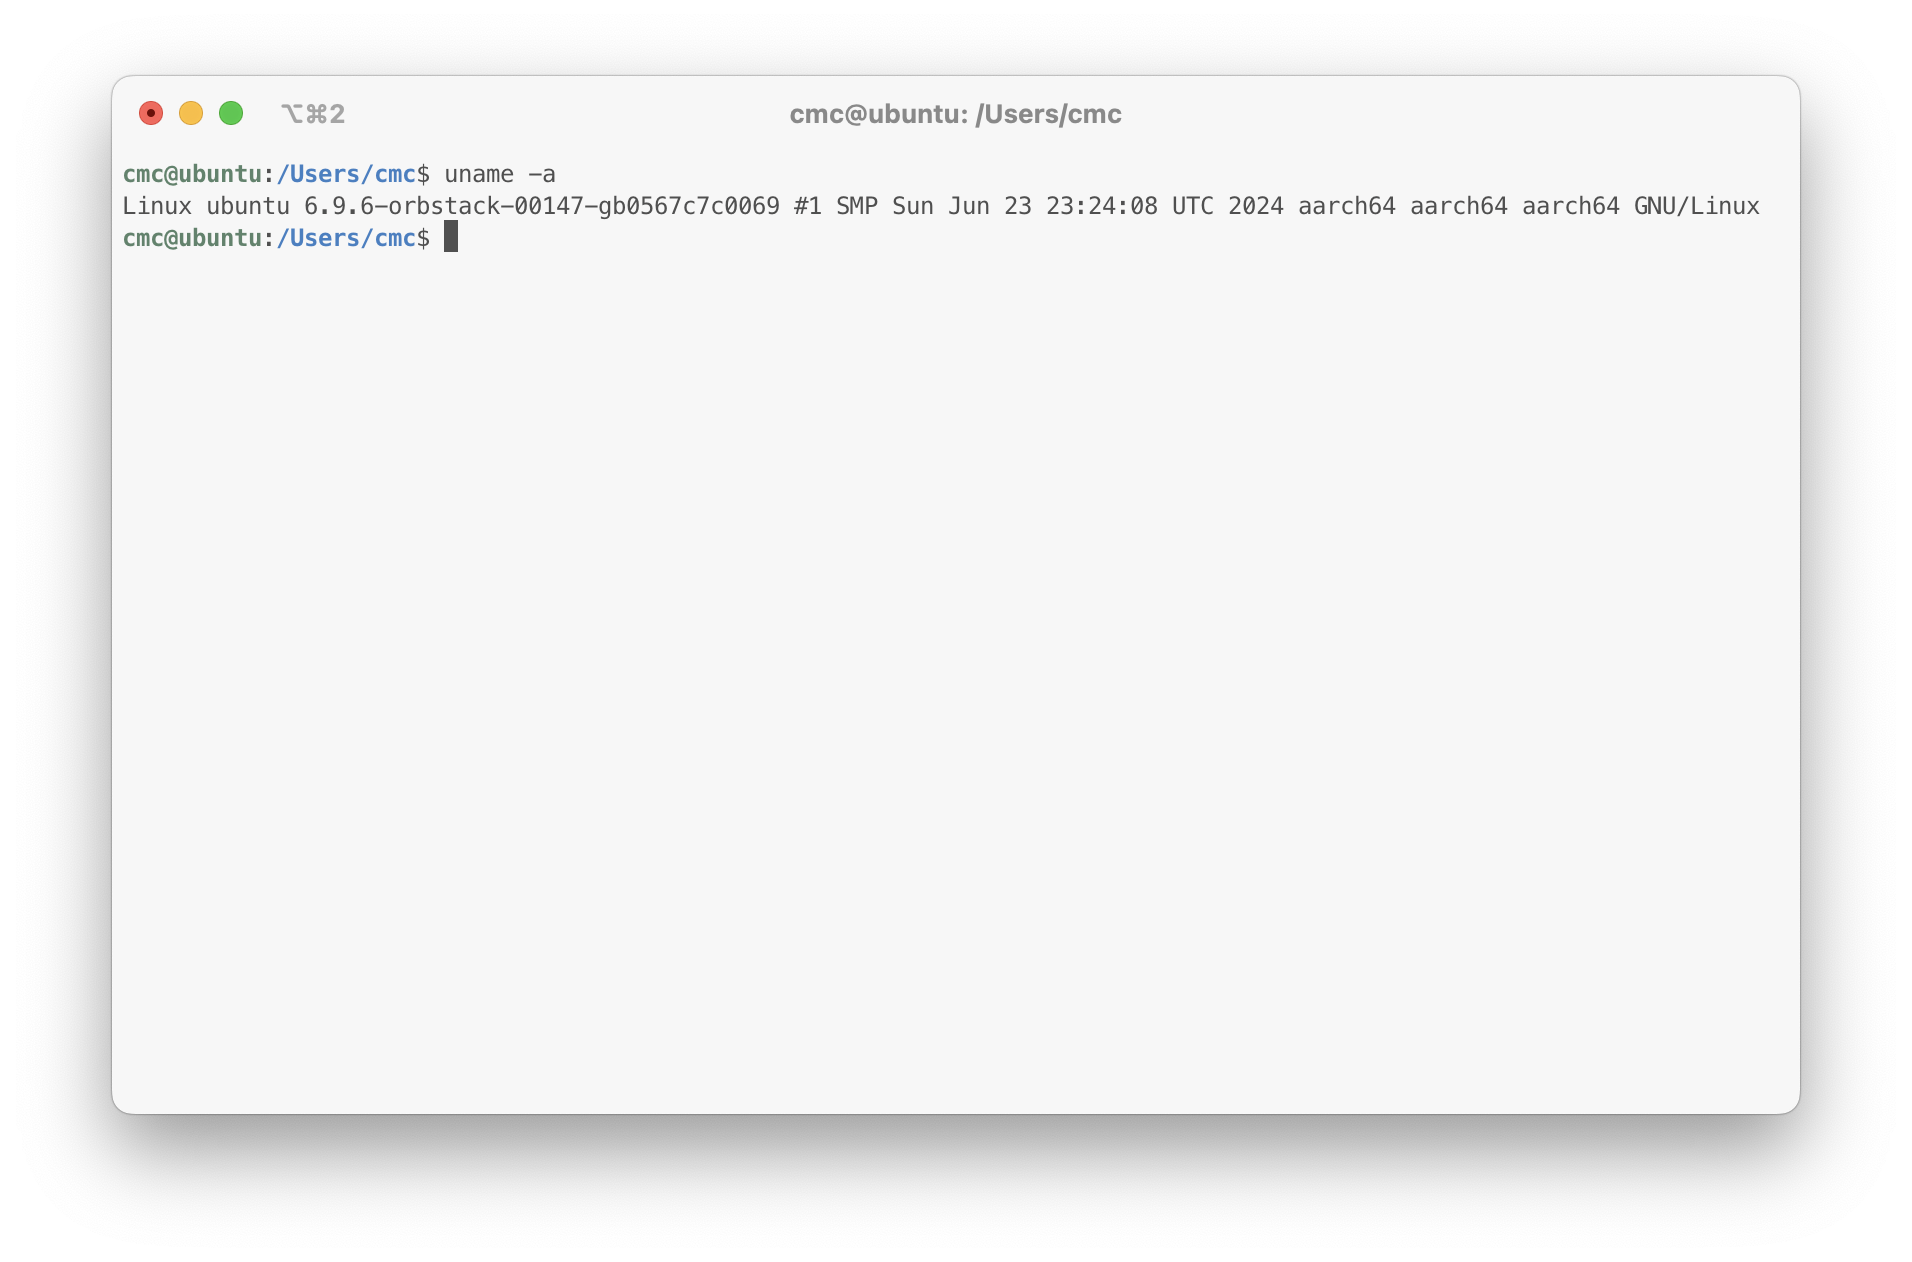
Once successful, OrbStack will launch your default terminal and log you into the Linux machine you created above.
In the example below, we can see that the machine is using Linux ubuntu 6.9.6
and operates similar to a fresh Ubuntu install on bare metal.
You can also click the machine's folder icon in OrbStack to open the machine's file system within macOS's native Files app. Within Files, you can double-click to open any files and they will open in the macOS defaults for those file types (e.g., TextEdit).
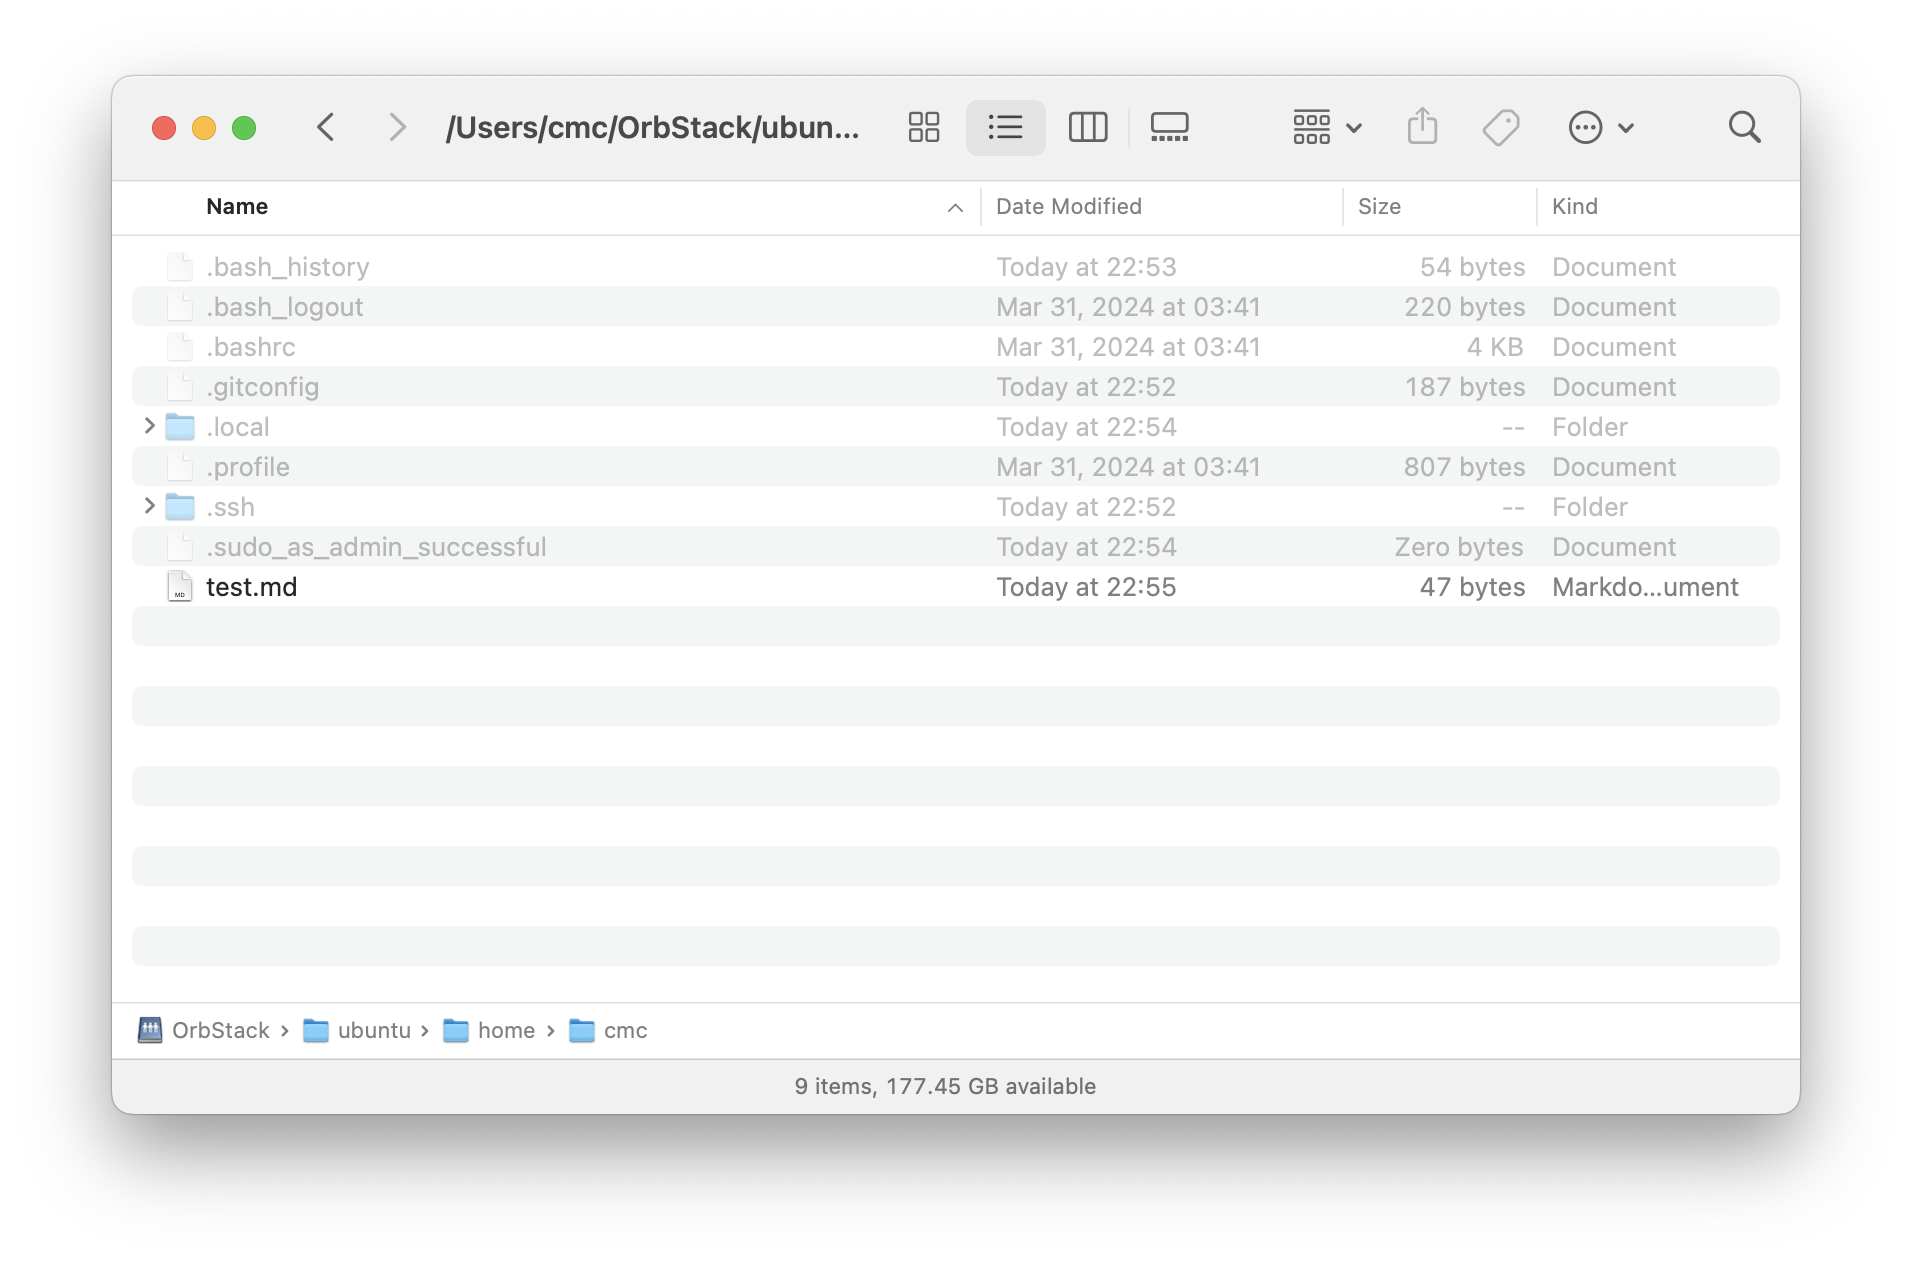
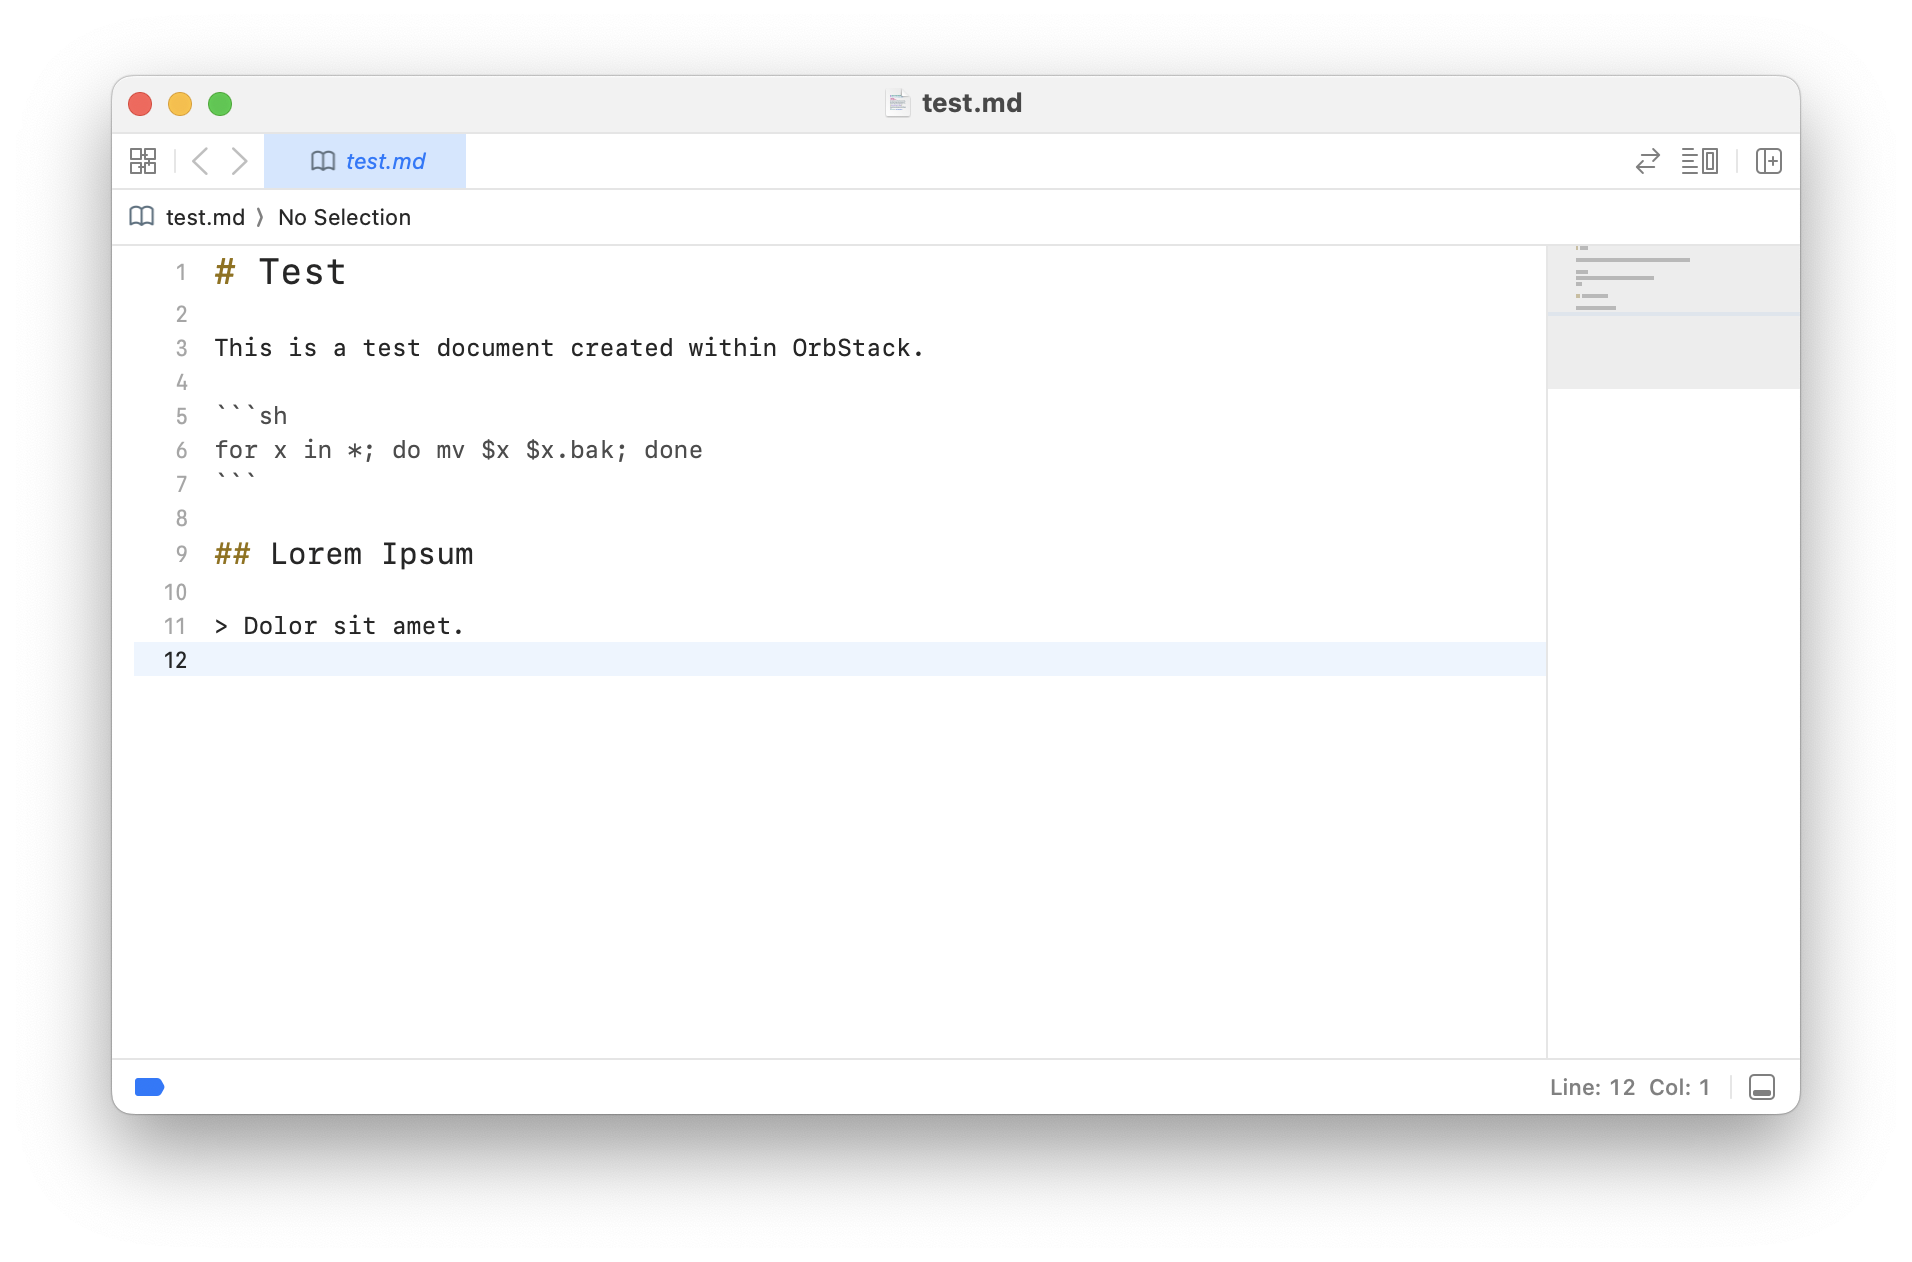
Here's an example of opening the test.md file in the screenshot above, which
defaults to opening in Xcode on my system.
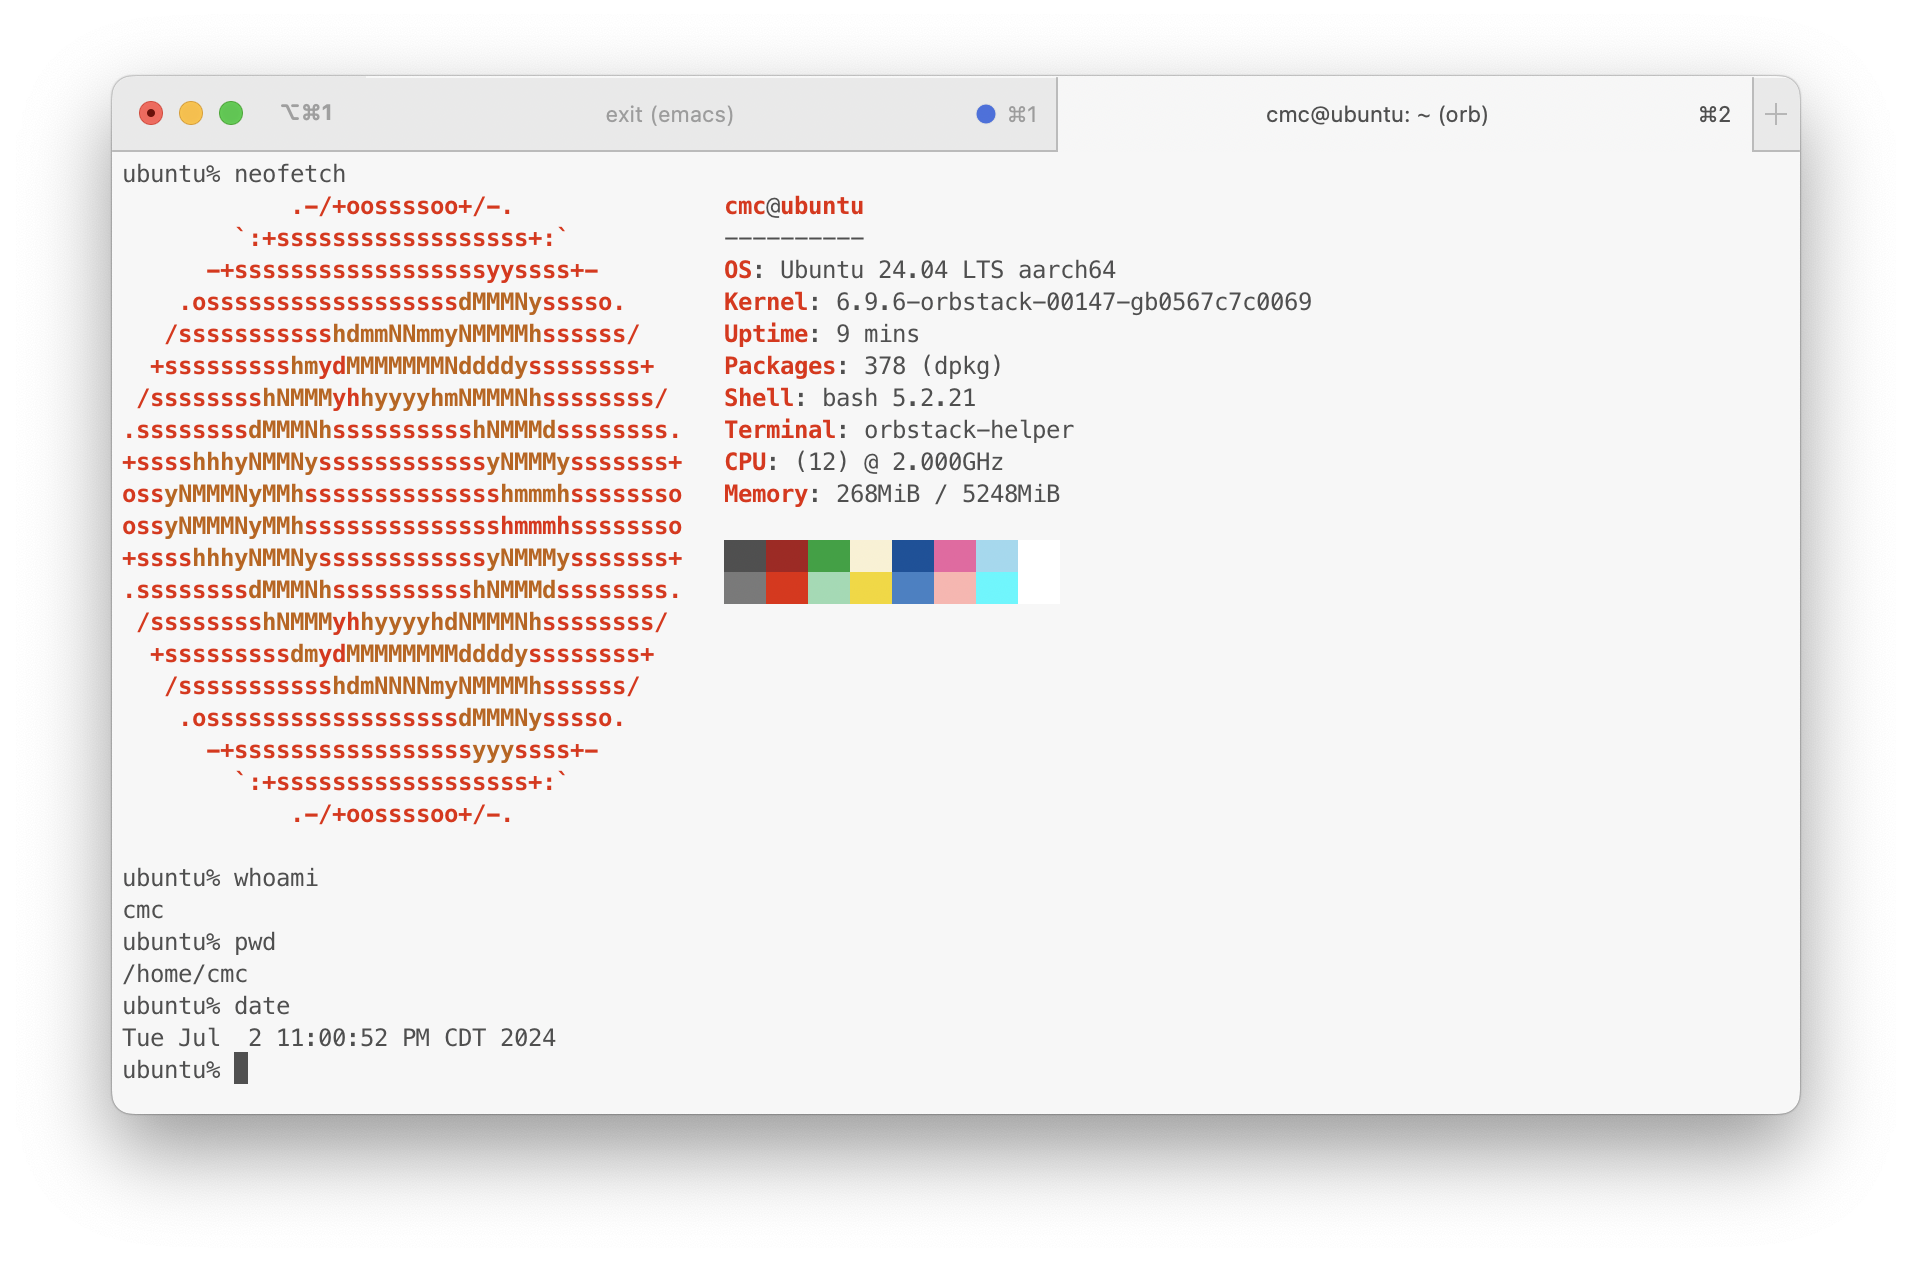
Test Examples
As a quick example of the system, I installed neofetch, switched to the zsh
shell, and ran a few common commands.
Thoughts
The installation, creation, and launch processes are seamless and provide an easy way to test or use Linux on macOS with little to no hassle.
The shell and file integrations are incredibly snappy and I have not experienced any lag so far. Further, being able to open files in the Files app allows for me to use macOS native applications, such as TextEdit for quick editing without having to resort to other programs that may not be as familiar to macOS users.
I love this method and will be happily looking for further use cases to apply.